
You also want an ePaper? Increase the reach of your titles
YUMPU automatically turns print PDFs into web optimized ePapers that Google loves.
DESKTOP CASE<br />
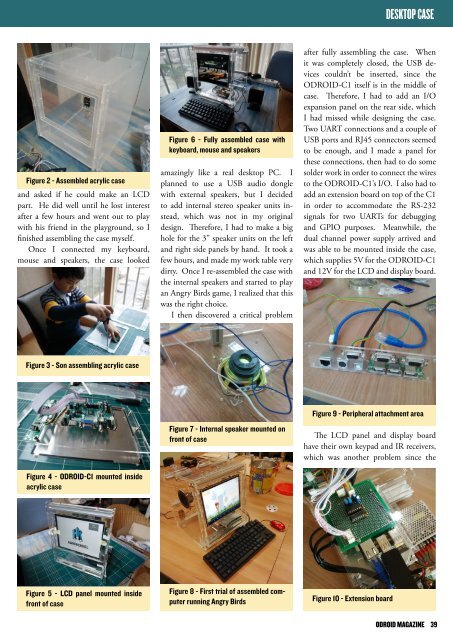
Figure 2 - Assembled acrylic case<br />
and asked if he could make an LCD<br />
part. He did well until he lost interest<br />
after a few hours and went out to play<br />
with his friend in the playground, so I<br />
finished assembling the case myself.<br />
Once I connected my keyboard,<br />
mouse and speakers, the case looked<br />
Figure 6 - Fully assembled case with<br />
keyboard, mouse and speakers<br />
amazingly like a real desktop PC. I<br />
planned to use a USB audio dongle<br />
with external speakers, but I decided<br />
to add internal stereo speaker units instead,<br />
which was not in my original<br />
design. Therefore, I had to make a big<br />
hole for the 3” speaker units on the left<br />
and right side panels by hand. It took a<br />
few hours, and made my work table very<br />
dirty. Once I re-assembled the case with<br />
the internal speakers and started to play<br />
an Angry Birds game, I realized that this<br />
was the right choice.<br />
I then discovered a critical problem<br />
after fully assembling the case. When<br />
it was completely closed, the USB devices<br />
couldn’t be inserted, since the<br />
<strong>ODROID</strong>-C1 itself is in the middle of<br />
case. Therefore, I had to add an I/O<br />
expansion panel on the rear side, which<br />
I had missed while designing the case.<br />
Two UART connections and a couple of<br />
USB ports and RJ45 connectors seemed<br />
to be enough, and I made a panel for<br />
these connections, then had to do some<br />
solder work in order to connect the wires<br />
to the <strong>ODROID</strong>-C1’s I/O. I also had to<br />
add an extension board on top of the C1<br />
in order to accommodate the RS-232<br />
signals for two UARTs for debugging<br />
and GPIO purposes. Meanwhile, the<br />
dual channel power supply arrived and<br />
was able to be mounted inside the case,<br />
which supplies 5V for the <strong>ODROID</strong>-C1<br />
and 12V for the LCD and display board.<br />
Figure 3 - Son assembling acrylic case<br />
Figure 4 - <strong>ODROID</strong>-C1 mounted inside<br />
acrylic case<br />
Figure 7 - Internal speaker mounted on<br />
front of case<br />
Figure 9 - Peripheral attachment area<br />
The LCD panel and display board<br />
have their own keypad and IR receivers,<br />
which was another problem since the<br />
Figure 5 - LCD panel mounted inside<br />
front of case<br />
Figure 8 - First trial of assembled computer<br />
running Angry Birds<br />
Figure 10 - Extension board<br />
<strong>ODROID</strong> MAGAZINE 39