ASE Manual Release 3.6.1.2825 CAMd - CampOS Wiki
ASE Manual Release 3.6.1.2825 CAMd - CampOS Wiki
ASE Manual Release 3.6.1.2825 CAMd - CampOS Wiki
Create successful ePaper yourself
Turn your PDF publications into a flip-book with our unique Google optimized e-Paper software.
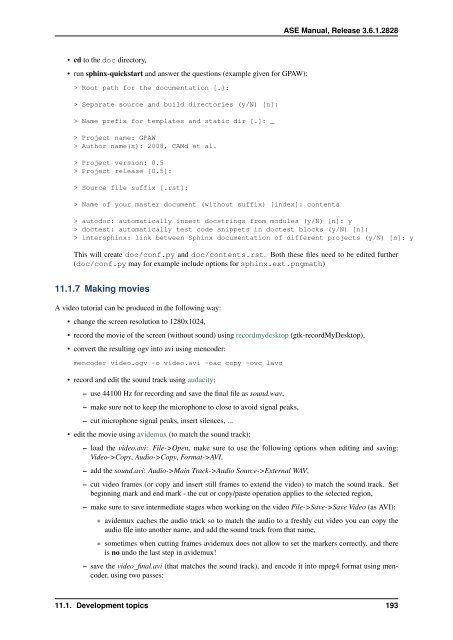
• cd to the doc directory,<br />
• run sphinx-quickstart and answer the questions (example given for GPAW):<br />
> Root path for the documentation [.]:<br />
> Separate source and build directories (y/N) [n]:<br />
> Name prefix for templates and static dir [.]: _<br />
> Project name: GPAW<br />
> Author name(s): 2008, <strong>CAMd</strong> et al.<br />
> Project version: 0.5<br />
> Project release [0.5]:<br />
> Source file suffix [.rst]:<br />
> Name of your master document (without suffix) [index]: contents<br />
<strong>ASE</strong> <strong>Manual</strong>, <strong>Release</strong> 3.6.1.2828<br />
> autodoc: automatically insert docstrings from modules (y/N) [n]: y<br />
> doctest: automatically test code snippets in doctest blocks (y/N) [n]:<br />
> intersphinx: link between Sphinx documentation of different projects (y/N) [n]: y<br />
This will create doc/conf.py and doc/contents.rst. Both these files need to be edited further<br />
(doc/conf.py may for example include options for sphinx.ext.pngmath)<br />
11.1.7 Making movies<br />
A video tutorial can be produced in the following way:<br />
• change the screen resolution to 1280x1024,<br />
• record the movie of the screen (without sound) using recordmydesktop (gtk-recordMyDesktop),<br />
• convert the resulting ogv into avi using mencoder:<br />
mencoder video.ogv -o video.avi -oac copy -ovc lavc<br />
• record and edit the sound track using audacity:<br />
– use 44100 Hz for recording and save the final file as sound.wav,<br />
– make sure not to keep the microphone to close to avoid signal peaks,<br />
– cut microphone signal peaks, insert silences, ...<br />
• edit the movie using avidemux (to match the sound track):<br />
– load the video.avi: File->Open, make sure to use the following options when editing and saving:<br />
Video->Copy, Audio->Copy, Format->AVI,<br />
– add the sound.avi: Audio->Main Track->Audio Source->External WAV,<br />
– cut video frames (or copy and insert still frames to extend the video) to match the sound track. Set<br />
beginning mark and end mark - the cut or copy/paste operation applies to the selected region,<br />
– make sure to save intermediate stages when working on the video File->Save->Save Video (as AVI):<br />
* avidemux caches the audio track so to match the audio to a freshly cut video you can copy the<br />
audio file into another name, and add the sound track from that name,<br />
* sometimes when cutting frames avidemux does not allow to set the markers correctly, and there<br />
is no undo the last step in avidemux!<br />
– save the video_final.avi (that matches the sound track), and encode it into mpeg4 format using mencoder,<br />
using two passes:<br />
11.1. Development topics 193


