Example of installation & commissioning guide
Example of installation & commissioning guide
Example of installation & commissioning guide
- No tags were found...

Create successful ePaper yourself
Turn your PDF publications into a flip-book with our unique Google optimized e-Paper software.
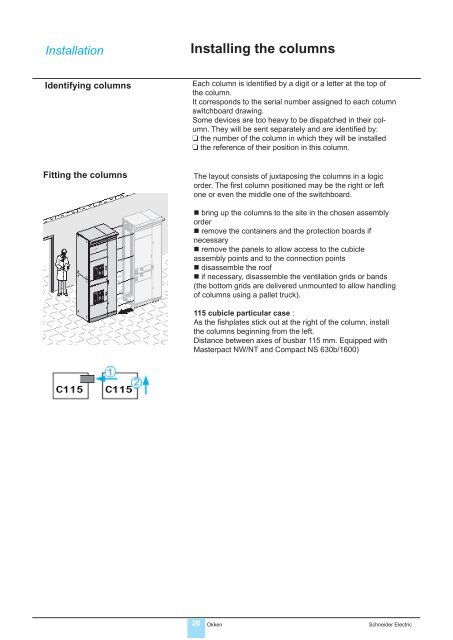
InstallationInstalling the columnsIdentifying columnsEach column is identified by a digit or a letter at the top <strong>of</strong> the column.It corresponds to the serial number assigned to each column switchboard drawing.Some devices are too heavy to be dispatched in their column.They will be sent separately and are identifi ed by:❑ the number <strong>of</strong> the column in which they will be installed❑ the reference <strong>of</strong> their position in this column.Fitting the columnsThe layout consists <strong>of</strong> juxtaposing the columns in a logicorder. The first column positioned may be the right or leftone or even the middle one <strong>of</strong> the switchboard.• bring up the columns to the site in the chosen assemblyorder• remove the containers and the protection boards ifnecessary• remove the panels to allow access to the cubicleassembly points and to the connection points• disassemble the ro<strong>of</strong>• if necessary, disassemble the ventilation grids or bands(the bottom grids are delivered unmounted to allow handling<strong>of</strong> columns using a pallet truck).115 cubicle particular case :As the fishplates stick out at the right <strong>of</strong> the column, installthe columns beginning from the left.Distance between axes <strong>of</strong> busbar 115 mm. Equipped withMasterpact NW/NT and Compact NS 630b/1600)20 Okken Schneider Electric