SHAKAERATOR - Operator Manual - McConnel
SHAKAERATOR - Operator Manual - McConnel
SHAKAERATOR - Operator Manual - McConnel
- No tags were found...
You also want an ePaper? Increase the reach of your titles
YUMPU automatically turns print PDFs into web optimized ePapers that Google loves.
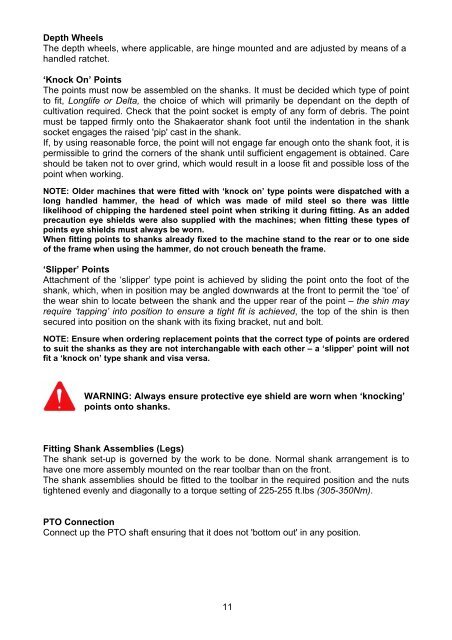
Depth WheelsThe depth wheels, where applicable, are hinge mounted and are adjusted by means of ahandled ratchet.‘Knock On’ PointsThe points must now be assembled on the shanks. It must be decided which type of pointto fit, Longlife or Delta, the choice of which will primarily be dependant on the depth ofcultivation required. Check that the point socket is empty of any form of debris. The pointmust be tapped firmly onto the Shakaerator shank foot until the indentation in the shanksocket engages the raised 'pip' cast in the shank.If, by using reasonable force, the point will not engage far enough onto the shank foot, it ispermissible to grind the corners of the shank until sufficient engagement is obtained. Careshould be taken not to over grind, which would result in a loose fit and possible loss of thepoint when working.NOTE: Older machines that were fitted with ‘knock on’ type points were dispatched with along handled hammer, the head of which was made of mild steel so there was littlelikelihood of chipping the hardened steel point when striking it during fitting. As an addedprecaution eye shields were also supplied with the machines; when fitting these types ofpoints eye shields must always be worn.When fitting points to shanks already fixed to the machine stand to the rear or to one sideof the frame when using the hammer, do not crouch beneath the frame.‘Slipper’ PointsAttachment of the ‘slipper’ type point is achieved by sliding the point onto the foot of theshank, which, when in position may be angled downwards at the front to permit the ‘toe’ ofthe wear shin to locate between the shank and the upper rear of the point – the shin mayrequire ‘tapping’ into position to ensure a tight fit is achieved, the top of the shin is thensecured into position on the shank with its fixing bracket, nut and bolt.NOTE: Ensure when ordering replacement points that the correct type of points are orderedto suit the shanks as they are not interchangable with each other – a ‘slipper’ point will notfit a ‘knock on’ type shank and visa versa.WARNING: Always ensure protective eye shield are worn when ‘knocking’points onto shanks.Fitting Shank Assemblies (Legs)The shank set-up is governed by the work to be done. Normal shank arrangement is tohave one more assembly mounted on the rear toolbar than on the front.The shank assemblies should be fitted to the toolbar in the required position and the nutstightened evenly and diagonally to a torque setting of 225-255 ft.lbs (305-350Nm).PTO ConnectionConnect up the PTO shaft ensuring that it does not 'bottom out' in any position.11


