Operating Instructions Manual For The Acoustic ... - BioSonics, Inc
Operating Instructions Manual For The Acoustic ... - BioSonics, Inc
Operating Instructions Manual For The Acoustic ... - BioSonics, Inc
Create successful ePaper yourself
Turn your PDF publications into a flip-book with our unique Google optimized e-Paper software.
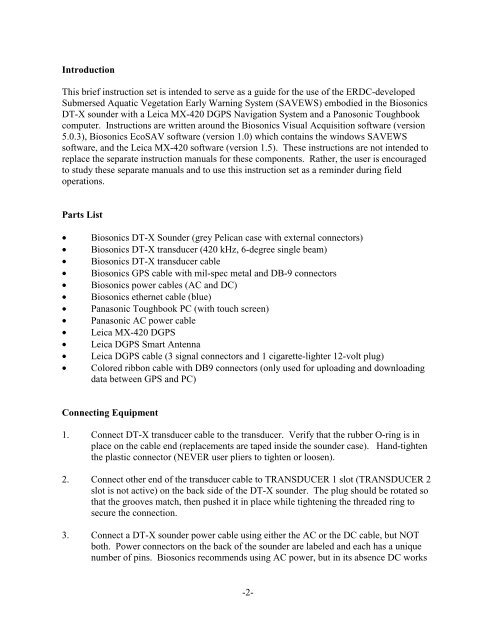
IntroductionThis brief instruction set is intended to serve as a guide for the use of the ERDC-developedSubmersed Aquatic Vegetation Early Warning System (SAVEWS) embodied in the BiosonicsDT-X sounder with a Leica MX-420 DGPS Navigation System and a Panosonic Toughbookcomputer. <strong>Instructions</strong> are written around the Biosonics Visual Acquisition software (version5.0.3), Biosonics EcoSAV software (version 1.0) which contains the windows SAVEWSsoftware, and the Leica MX-420 software (version 1.5). <strong>The</strong>se instructions are not intended toreplace the separate instruction manuals for these components. Rather, the user is encouragedto study these separate manuals and to use this instruction set as a reminder during fieldoperations.Parts List• Biosonics DT-X Sounder (grey Pelican case with external connectors)• Biosonics DT-X transducer (420 kHz, 6-degree single beam)• Biosonics DT-X transducer cable• Biosonics GPS cable with mil-spec metal and DB-9 connectors• Biosonics power cables (AC and DC)• Biosonics ethernet cable (blue)• Panasonic Toughbook PC (with touch screen)• Panasonic AC power cable• Leica MX-420 DGPS• Leica DGPS Smart Antenna• Leica DGPS cable (3 signal connectors and 1 cigarette-lighter 12-volt plug)• Colored ribbon cable with DB9 connectors (only used for uploading and downloadingdata between GPS and PC)Connecting Equipment1. Connect DT-X transducer cable to the transducer. Verify that the rubber O-ring is inplace on the cable end (replacements are taped inside the sounder case). Hand-tightenthe plastic connector (NEVER user pliers to tighten or loosen).2. Connect other end of the transducer cable to TRANSDUCER 1 slot (TRANSDUCER 2slot is not active) on the back side of the DT-X sounder. <strong>The</strong> plug should be rotated sothat the grooves match, then pushed it in place while tightening the threaded ring tosecure the connection.3. Connect a DT-X sounder power cable using either the AC or the DC cable, but NOTboth. Power connectors on the back of the sounder are labeled and each has a uniquenumber of pins. Biosonics recommends using AC power, but in its absence DC works-2-


