A-Teachers-Guide-to-the-Intel-Galileo-Final
A-Teachers-Guide-to-the-Intel-Galileo-Final
A-Teachers-Guide-to-the-Intel-Galileo-Final

You also want an ePaper? Increase the reach of your titles
YUMPU automatically turns print PDFs into web optimized ePapers that Google loves.
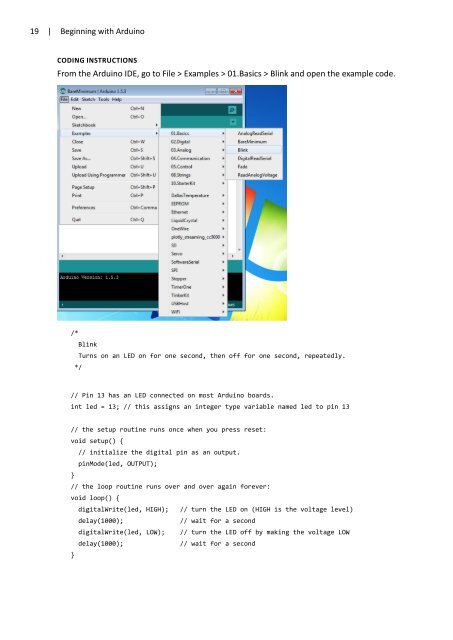
19 | Beginning with ArduinoCoding InstructionsFrom <strong>the</strong> Arduino IDE, go <strong>to</strong> File > Examples > 01.Basics > Blink and open <strong>the</strong> example code./*BlinkTurns on an LED on for one second, <strong>the</strong>n off for one second, repeatedly.*/// Pin 13 has an LED connected on most Arduino boards.int led = 13; // this assigns an integer type variable named led <strong>to</strong> pin 13// <strong>the</strong> setup routine runs once when you press reset:void setup() {// initialize <strong>the</strong> digital pin as an output.pinMode(led, OUTPUT);}// <strong>the</strong> loop routine runs over and over again forever:void loop() {digitalWrite(led, HIGH); // turn <strong>the</strong> LED on (HIGH is <strong>the</strong> voltage level)delay(1000);// wait for a seconddigitalWrite(led, LOW); // turn <strong>the</strong> LED off by making <strong>the</strong> voltage LOWdelay(1000);// wait for a second}