Maximum_PC_June_2017
Create successful ePaper yourself
Turn your PDF publications into a flip-book with our unique Google optimized e-Paper software.
R&D<br />
Create a Cool Color<br />
Splash Effect<br />
You’ll nEEd thIs<br />
photoshop<br />
Available from www.adobe.com.<br />
a suItable photo<br />
Choose an image with a<br />
strong, isolated color in it.<br />
There’s a phoTographic effecT you may have seen if you’re friends with any parents on<br />
Facebook. An image is drained of color, apart from specific hues, which are injected back into the<br />
otherwise monochrome image.<br />
It’s a bit overused—and, if we’re being honest, groan-inducing, especially when applied to photos<br />
of newborn babies—but by recreating it, we can gain some insights into how Photoshop works,<br />
because it’s possible to do it in a couple different ways, depending on whether you choose to work<br />
on the colors involved specifically, by selecting them directly, or just the area you want to work on<br />
more generally, by selecting the pixels in a certain area, no matter what color they are.<br />
It’s a relatively simple effect, albeit a striking one, so is something you could achieve in imageediting<br />
apps other than Photoshop. And if you can use it to make a new mom smile, then we’ve all<br />
made the world a better place. –Ian EvEndEn<br />
1<br />
Choose a photo<br />
We’re going to work on a photo of typical city scene here, but you<br />
could use anything with a strong, isolated color in it, such as a<br />
baby with piercing eyes, or a woman with full, red lips. Whatever<br />
you choose, open the image in Photoshop and, for the first of our<br />
color isolation methods, head to the “Select” menu, and choose<br />
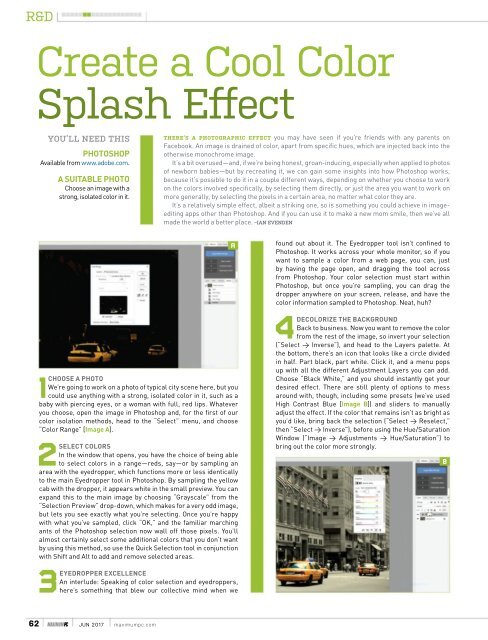
“Color Range” [Image a].<br />
2<br />
seleCt Colors<br />
In the window that opens, you have the choice of being able<br />
to select colors in a range—reds, say—or by sampling an<br />
area with the eyedropper, which functions more or less identically<br />
to the main Eyedropper tool in Photoshop. By sampling the yellow<br />
cab with the dropper, it appears white in the small preview. You can<br />
expand this to the main image by choosing “Grayscale” from the<br />
“Selection Preview” drop-down, which makes for a very odd image,<br />
but lets you see exactly what you’re selecting. Once you’re happy<br />
with what you’ve sampled, click “OK,” and the familiar marching<br />
ants of the Photoshop selection now wall off those pixels. You’ll<br />
almost certainly select some additional colors that you don’t want<br />
by using this method, so use the Quick Selection tool in conjunction<br />
with Shift and Alt to add and remove selected areas.<br />
3<br />
eyedropper exCellenCe<br />
An interlude: Speaking of color selection and eyedroppers,<br />
here’s something that blew our collective mind when we<br />
A<br />
found out about it. The Eyedropper tool isn’t confined to<br />
Photoshop. It works across your whole monitor, so if you<br />
want to sample a color from a web page, you can, just<br />
by having the page open, and dragging the tool across<br />
from Photoshop. Your color selection must start within<br />
Photoshop, but once you’re sampling, you can drag the<br />
dropper anywhere on your screen, release, and have the<br />
color information sampled to Photoshop. Neat, huh?<br />
4<br />
deColorIze the baCkground<br />
Back to business. Now you want to remove the color<br />
from the rest of the image, so invert your selection<br />
(“Select > Inverse”), and head to the Layers palette. At<br />
the bottom, there’s an icon that looks like a circle divided<br />
in half. Part black, part white. Click it, and a menu pops<br />
up with all the different Adjustment Layers you can add.<br />
Choose “Black White,” and you should instantly get your<br />
desired effect. There are still plenty of options to mess<br />
around with, though, including some presets (we’ve used<br />
High Contrast Blue [Image b]) and sliders to manually<br />
adjust the effect. If the color that remains isn’t as bright as<br />
you’d like, bring back the selection (“Select > Reselect,”<br />
then “Select > Inverse”), before using the Hue/Saturation<br />
Window (“Image > Adjustments > Hue/Saturation”) to<br />
bring out the color more strongly.<br />
B<br />
62 MAXIMUM<strong>PC</strong> Jun <strong>2017</strong> maximumpc.com


