3990 Learning at home workbook 6 ebook

You also want an ePaper? Increase the reach of your titles
YUMPU automatically turns print PDFs into web optimized ePapers that Google loves.
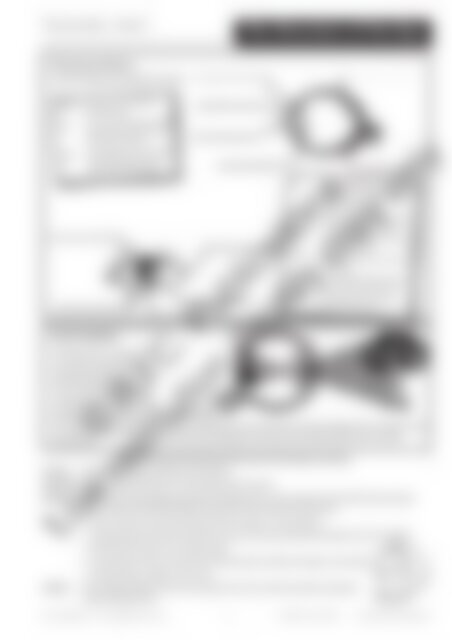
The Human Body ~ Activity 2<br />
The Structure of the Eye<br />
The Structure of the Eye<br />
Label the eye diagrams by reading the description.<br />
Retina The back part of the eye which<br />
receives the image.<br />
Lens The part of the eye which directs light<br />
onto the retina. It changes shape to<br />
help you focus on objects.<br />
Pupil The small hole in the centre of the iris<br />
which allows light to enter. Its size<br />
alters with the amount of light.<br />
How the Eye Works<br />
The human eye has a design similar<br />
to a camera. The pupil works like a<br />
shutter, growing larger or smaller to<br />
control the amount of light entering.<br />
The lens behind the iris changes shape<br />
to focus the image on the retina <strong>at</strong> the<br />
back of the eye, just as the lens moves<br />
in a camera to focus the image on the<br />
film <strong>at</strong> the back.<br />
Iris This is the coloured part of the eye<br />
which you can see. Everyone in the<br />
world has unique irises.<br />
Tear duct The part of the eye which drains away<br />
tears produced by the tear glands.<br />
Eyelids Movable flaps of skin which can cover<br />
or uncover the eyeball.<br />
Cornea The clear covering of the eye over the<br />
iris and pupil.<br />
Optic nerve The nerve which runs from the retina<br />
and carries the image to the brain.<br />
Eyelashes Short thick hairs on the eyelids to<br />
protect the eye from dust.<br />
Inverted Image<br />
Because the light rays cross over each other as they pass through the lens, the image received<br />
by the retina is upside down. The brain inverts the image to wh<strong>at</strong> we ‘see’ in real life.<br />
The following activity will illustr<strong>at</strong>e this inversion of the image on our retina.<br />
Question: Wh<strong>at</strong> does the image received by the retina look like?<br />
Design brief: You will be demonstr<strong>at</strong>ing how an inverted image reaches the retina.<br />
M<strong>at</strong>erials: piece of white translucent paper (greaseproof is ideal) about 30 cm 2 ; clean, empty, silver tin with the lid removed but the<br />
bottom in place; an elastic band; a jumper or large cloth to make a dark area over your head.<br />
Steps: 1. Punch a nail hole in the centre of the bottom of the tin (about 1 to 2 mm diameter).<br />
2. Spread the paper over the open end of the tin and secure with an elastic band. Pull the paper taut. This is the screen.<br />
3. Point the bottom of the tin <strong>at</strong> an outside window.<br />
4. Use the jumper or cloth to cover your head and make a dark area with just the paper screen showing.<br />
5. Study the image as it appears on the screen.<br />
Findings: Draw and label a diagram to show how an image enters the tin’s nail hole and another showing the<br />
image on the paper screen.<br />
© R.I.C. Public<strong>at</strong>ions<br />
Low resolution display copy only<br />
R.I.C. Public<strong>at</strong>ions® www.ricpublic<strong>at</strong>ions.com.au 27 ISBN 978-1-922313-88-1 <strong>Learning</strong> <strong>at</strong> <strong>home</strong> <strong>workbook</strong> 6