
Create successful ePaper yourself
Turn your PDF publications into a flip-book with our unique Google optimized e-Paper software.
5) To set the Lane, click on a different spot on the screen. The Lane line is now solid.<br />
Setting the Marker<br />
Each Marker Lane is designated by ‘M’ followed by 1, 2, or 3.<br />
1) Click on the Select Marker Lanes Set icon in the Marker Lanes group and choose One-Color<br />
Protein from the pull-down menu.<br />
2) Click on the Number of Marker Lanes icon in the Marker Lanes group and select One from<br />
the pull-down menu.<br />
3) To change the location of the Marker Lane, click on the Marker Handle to change the<br />
rectangle to a dashed line.<br />
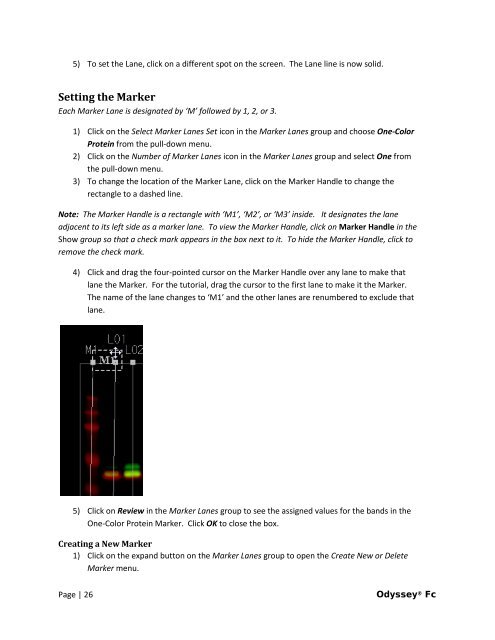
Note: The Marker Handle is a rectangle with ‘M1’, ‘M2’, or ‘M3’ inside. It designates the lane<br />
adjacent to its left side as a marker lane. To view the Marker Handle, click on Marker Handle in the<br />
Show group so that a check mark appears in the box next to it. To hide the Marker Handle, click to<br />
remove the check mark.<br />
4) Click and drag the four-pointed cursor on the Marker Handle over any lane to make that<br />
lane the Marker. For the tutorial, drag the cursor to the first lane to make it the Marker.<br />
The name of the lane changes to ‘M1’ and the other lanes are renumbered to exclude that<br />
lane.<br />
5) Click on Review in the Marker Lanes group to see the assigned values for the bands in the<br />
One-Color Protein Marker. Click OK to close the box.<br />
Creating a New Marker<br />
1) Click on the expand button on the Marker Lanes group to open the Create New or Delete<br />
Marker menu.<br />
Page | 26 <strong>Odyssey</strong> ® <strong>Fc</strong>