211-125A Table Assembly - Atlanta Attachment Co.
211-125A Table Assembly - Atlanta Attachment Co.
211-125A Table Assembly - Atlanta Attachment Co.

Create successful ePaper yourself
Turn your PDF publications into a flip-book with our unique Google optimized e-Paper software.
2<strong>211</strong>ES (770)963-7369 FAX(770)963-7641<br />
D. Possible defective sew eye.<br />
11. Stacker eye has been covered too long. Relative<br />
setting: Stacker Eye Timeout.<br />
Possible Causes:<br />
A. The stacker eye is prevented from seeing the<br />
reflective tape.<br />
B. The conveyor has stopped.<br />
C. Possible jam under stacker eye.<br />
D. Possible defective stacker eye.<br />
<strong>Co</strong>nveyor Speed <strong>Co</strong>ntrol<br />
Suggested setting for the conveyor speed control for<br />
8SPI - 300. To synchronize with the head increase<br />
conveyor speed until the material pleats then decrease<br />
until pleating stops. If stitch<br />
length is changed repeat above<br />
procedure. (See page 1-8 and<br />
1-17)<br />
Footlift Setting<br />
The height the foot lifts during<br />
chainoff (Approx. 1/32") is<br />
adjusted with the stud screw<br />
located behind the sewing head<br />
next to the handwheel and<br />
below the footlift cylinders (see<br />
below).<br />
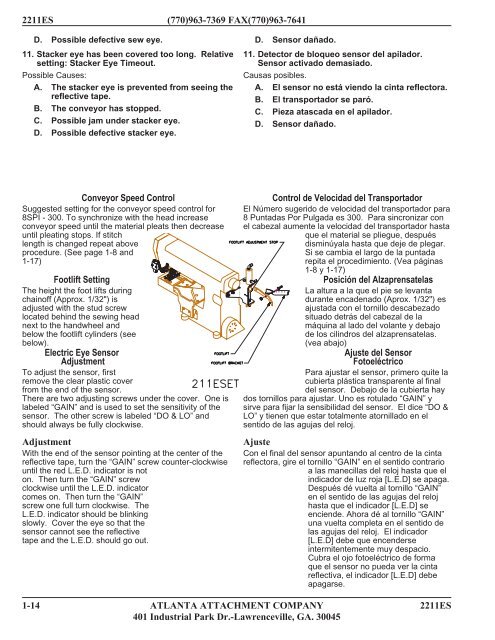
Electric Eye Sensor<br />
Adjustment<br />
To adjust the sensor, first<br />
remove the clear plastic cover<br />
from the end of the sensor.<br />
There are two adjusting screws under the cover. One is<br />
labeled “GAIN” and is used to set the sensitivity of the<br />
sensor. The other screw is labeled “DO & LO” and<br />
should always be fully clockwise.<br />
Adjustment<br />
With the end of the sensor pointing at the center of the<br />
reflective tape, turn the “GAIN” screw counter-clockwise<br />
until the red L.E.D. indicator is not<br />
on. Then turn the “GAIN” screw<br />
clockwise until the L.E.D. indicator<br />
comes on. Then turn the “GAIN”<br />
screw one full turn clockwise. The<br />
L.E.D. indicator should be blinking<br />
slowly. <strong>Co</strong>ver the eye so that the<br />
sensor cannot see the reflective<br />
tape and the L.E.D. should go out.<br />
D. Sensor dañado.<br />
11. Detector de bloqueo sensor del apilador.<br />
Sensor activado demasiado.<br />
Causas posibles.<br />
A. El sensor no está viendo la cinta reflectora.<br />
B. El transportador se paró.<br />
C. Pieza atascada en el apilador.<br />
D. Sensor dañado.<br />
<strong>Co</strong>ntrol de Velocidad del Transportador<br />
El Número sugerido de velocidad del transportador para<br />
8 Puntadas Por Pulgada es 300. Para sincronizar con<br />
el cabezal aumente la velocidad del transportador hasta<br />
que el material se pliegue, después<br />
disminúyala hasta que deje de plegar.<br />
Si se cambia el largo de la puntada<br />
repita el procedimiento. (Vea páginas<br />
1-8 y 1-17)<br />
Posición del Alzaprensatelas<br />
La altura a la que el pie se levanta<br />
durante encadenado (Aprox. 1/32") es<br />
ajustada con el tornillo descabezado<br />
situado detrás del cabezal de la<br />
máquina al lado del volante y debajo<br />
de los cilindros del alzaprensatelas.<br />
(vea abajo)<br />
Ajuste del Sensor<br />
Fotoeléctrico<br />
Para ajustar el sensor, primero quite la<br />
cubierta plástica transparente al final<br />
del sensor. Debajo de la cubierta hay<br />
dos tornillos para ajustar. Uno es rotulado “GAIN” y<br />
sirve para fijar la sensibilidad del sensor. El dice “DO &<br />
LO” y tienen que estar totalmente atornillado en el<br />
sentido de las agujas del reloj.<br />
Ajuste<br />
<strong>Co</strong>n el final del sensor apuntando al centro de la cinta<br />
reflectora, gire el tornillo “GAIN” en el sentido contrario<br />
a las manecillas del reloj hasta que el<br />
indicador de luz roja [L.E.D] se apaga.<br />
Después dé vuelta al tornillo “GAIN”<br />
en el sentido de las agujas del reloj<br />
hasta que el indicador [L.E.D] se<br />
enciende. Ahora dé al tornillo “GAIN”<br />
una vuelta completa en el sentido de<br />
las agujas del reloj. El indicador<br />
[L.E.D] debe que encenderse<br />
intermitentemente muy despacio.<br />
Cubra el ojo fotoeléctrico de forma<br />
que el sensor no pueda ver la cinta<br />
reflectiva, el indicador [L.E.D] debe<br />
apagarse.<br />
1-14 ATLANTA ATTACHMENT COMPANY 2<strong>211</strong>ES<br />
401 Industrial Park Dr.-Lawrenceville, GA. 30045