INSTRUCTION MANUAL - Interphone - Cellular Italia S.p.A.
INSTRUCTION MANUAL - Interphone - Cellular Italia S.p.A.
INSTRUCTION MANUAL - Interphone - Cellular Italia S.p.A.

You also want an ePaper? Increase the reach of your titles
YUMPU automatically turns print PDFs into web optimized ePapers that Google loves.
alternating the use of all the INTERPHONE F3 functions and,<br />
given the varied use of these; it can vary significantly from<br />
one use to another.<br />
During Intercom communication, one of the two <strong>Interphone</strong><br />
or INTERPHONE F3 devices has a greater battery consumption:<br />
this is due to the wireless recharge procedure that one<br />
of the control panels carries out in order to remain connected<br />
to the other. It can even lead to a difference in autonomy<br />
of 60/90 minutes.<br />
On long journeys, to optimise battery duration, we advise<br />
enabling Intercom mode only when you wish to communicate,<br />
remaining in stand-by or an alternative mode when not<br />
actually communicating.<br />
PROdUCT dESCRIPTION<br />
Bluetooth® control panel<br />
1. Multipurpose button<br />
2. Multipurpose LED<br />
3. Volume adjustment button +<br />
4. Volume adjustment button -<br />
5. Recharge / Multipurpose socket and accessories<br />
6. Bluetooth® control panel connection guide<br />
Speaker with anti-wind microphone<br />
7/8. Speaker<br />
9. Microphone with anti-wind sock<br />
10. Speaker/microphone connector<br />
PaCkaGE CONTENTS*<br />
• 2 bluetooth® control panel<br />
• 2 speaker with anti-wind microphone<br />
• 2 removable control panel support with clip and screws<br />
(2 screws)<br />
• 2 adhesive control panel support<br />
• 2 clip adaptor<br />
• Mains battery charger with double connector<br />
• 4 adhesive Velcro<br />
• Screwdriver<br />
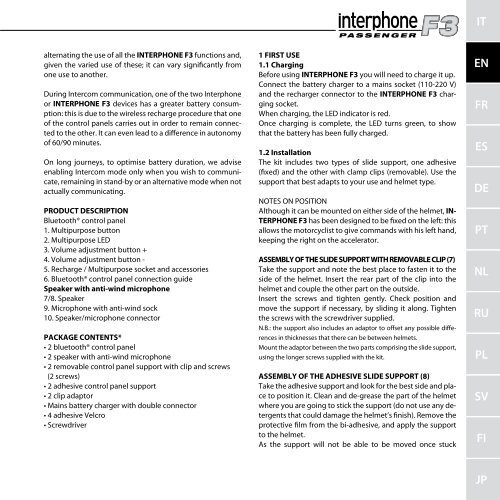
1 FIRST USE<br />
1.1 Charging<br />
Before using INTERPHONE F3 you will need to charge it up.<br />
Connect the battery charger to a mains socket (110-220 V)<br />
and the recharger connector to the INTERPHONE F3 charging<br />
socket.<br />
When charging, the LED indicator is red.<br />
Once charging is complete, the LED turns green, to show<br />
that the battery has been fully charged.<br />
1.2 Installation<br />
The kit includes two types of slide support, one adhesive<br />
(fixed) and the other with clamp clips (removable). Use the<br />
support that best adapts to your use and helmet type.<br />
NOTES ON POSITION<br />
Although it can be mounted on either side of the helmet, IN-<br />
TERPHONE F3 has been designed to be fixed on the left: this<br />
allows the motorcyclist to give commands with his left hand,<br />
keeping the right on the accelerator.<br />
aSSEMbLY OF THE SLIdE SUPPORT WITH REMOvabLE CLIP (7)<br />
Take the support and note the best place to fasten it to the<br />
side of the helmet. Insert the rear part of the clip into the<br />
helmet and couple the other part on the outside.<br />
Insert the screws and tighten gently. Check position and<br />
move the support if necessary, by sliding it along. Tighten<br />
the screws with the screwdriver supplied.<br />
N.B.: the support also includes an adaptor to offset any possible differences<br />
in thicknesses that there can be between helmets.<br />
Mount the adaptor between the two parts comprising the slide support,<br />
using the longer screws supplied with the kit.<br />
aSSEMbLY OF THE adHESIvE SLIdE SUPPORT (8)<br />
Take the adhesive support and look for the best side and place<br />
to position it. Clean and de-grease the part of the helmet<br />
where you are going to stick the support (do not use any detergents<br />
that could damage the helmet’s finish). Remove the<br />
protective film from the bi-adhesive, and apply the support<br />
to the helmet.<br />
As the support will not be able to be moved once stuck<br />
IT<br />
EN<br />
FR<br />
ES<br />
DE<br />
PT<br />
NL<br />
RU<br />
PL<br />
SV<br />
FI<br />
JP