

BlackandDecker Pistolet A Peindre- Bdps400 - Type 1 - Instruction Manual (Européen)
BlackandDecker Pistolet A Peindre- Bdps400 - Type 1 - Instruction Manual (Européen)
BlackandDecker Pistolet A Peindre- Bdps400 - Type 1 - Instruction Manual (Européen)

You also want an ePaper? Increase the reach of your titles
YUMPU automatically turns print PDFs into web optimized ePapers that Google loves.
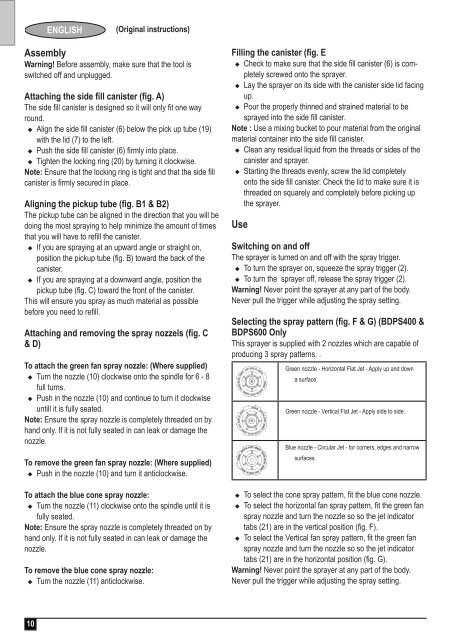
ENGLISH<br />
(Original instructions)<br />
Assembly<br />
Warning! Before assembly, make sure that the tool is<br />
switched off and unplugged.<br />
Attaching the side fill canister (fig. A)<br />
The side fill canister is designed so it will only fit one way<br />
round.<br />
u Align the side fill canister (6) below the pick up tube (19)<br />
with the lid (7) to the left.<br />
u Push the side fill canister (6) firmly into place.<br />
u Tight<strong>en</strong> the locking ring (20) by turning it clockwise.<br />
Note: Ensure that the locking ring is tight and that the side fill<br />
canister is firmly secured in place.<br />
Aligning the pickup tube (fig. B1 & B2)<br />
The pickup tube can be aligned in the direction that you will be<br />
doing the most spraying to help minimize the amount of times<br />
that you will have to refill the canister.<br />
u If you are spraying at an upward angle or straight on,<br />
position the pickup tube (fig. B) toward the back of the<br />
canister.<br />
u If you are spraying at a downward angle, position the<br />
pickup tube (fig. C) toward the front of the canister.<br />
This will <strong>en</strong>sure you spray as much material as possible<br />
before you need to refill.<br />
Attaching and removing the spray nozzels (fig. C<br />
& D)<br />
To attach the gre<strong>en</strong> fan spray nozzle: (Where supplied)<br />
u Turn the nozzle (10) clockwise onto the spindle for 6 - 8<br />
full turns.<br />
u Push in the nozzle (10) and continue to turn it clockwise<br />
untill it is fully seated.<br />
Note: Ensure the spray nozzle is completely threaded on by<br />
hand only. If it is not fully seated in can leak or damage the<br />
nozzle.<br />
To remove the gre<strong>en</strong> fan spray nozzle: (Where supplied)<br />
u Push in the nozzle (10) and turn it anticlockwise.<br />
To attach the blue cone spray nozzle:<br />
u Turn the nozzle (11) clockwise onto the spindle until it is<br />
fully seated.<br />
Note: Ensure the spray nozzle is completely threaded on by<br />
hand only. If it is not fully seated in can leak or damage the<br />
nozzle.<br />
To remove the blue cone spray nozzle:<br />
u Turn the nozzle (11) anticlockwise.<br />
Filling the canister (fig. E<br />
u Check to make sure that the side fill canister (6) is completely<br />
screwed onto the sprayer.<br />
u Lay the sprayer on its side with the canister side lid facing<br />
up.<br />
u Pour the properly thinned and strained material to be<br />
sprayed into the side fill canister.<br />
Note : Use a mixing bucket to pour material from the original<br />
material container into the side fill canister.<br />
u Clean any residual liquid from the threads or sides of the<br />
canister and sprayer.<br />
u Starting the threads ev<strong>en</strong>ly, screw the lid completely<br />
onto the side fill canister. Check the lid to make sure it is<br />
threaded on squarely and completely before picking up<br />
the sprayer.<br />
Use<br />
Switching on and off<br />
The sprayer is turned on and off with the spray trigger.<br />
u To turn the sprayer on, squeeze the spray trigger (2).<br />
u To turn the sprayer off, release the spray trigger (2).<br />
Warning! Never point the sprayer at any part of the body.<br />
Never pull the trigger while adjusting the spray setting.<br />
Selecting the spray pattern (fig. F & G) (BDPS400 &<br />
BDPS600 Only<br />
This sprayer is supplied with 2 nozzles which are capable of<br />
producing 3 spray patterns. .<br />
Gre<strong>en</strong> nozzle - Horizontal Flat Jet - Apply up and down<br />
a surface.<br />
Gre<strong>en</strong> nozzle - Vertical Flat Jet - Apply side to side.<br />
Blue nozzle - Circular Jet - for corners, edges and narrow<br />
surfaces.<br />
u To select the cone spray pattern, fit the blue cone nozzle.<br />
u To select the horizontal fan spray pattern, fit the gre<strong>en</strong> fan<br />
spray nozzle and turn the nozzle so so the jet indicator<br />
tabs (21) are in the vertical position (fig. F).<br />
u To select the Vertical fan spray pattern, fit the gre<strong>en</strong> fan<br />
spray nozzle and turn the nozzle so so the jet indicator<br />
tabs (21) are in the horizontal position (fig. G).<br />
Warning! Never point the sprayer at any part of the body.<br />
Never pull the trigger while adjusting the spray setting.<br />
10


