

Sony DSC-TX9 - DSC-TX9 Istruzioni per l'uso Inglese
Sony DSC-TX9 - DSC-TX9 Istruzioni per l'uso Inglese
Sony DSC-TX9 - DSC-TX9 Istruzioni per l'uso Inglese

Create successful ePaper yourself
Turn your PDF publications into a flip-book with our unique Google optimized e-Paper software.
Importing images to a computer (Macintosh)<br />
1 Connect the camera to your Macintosh computer first. Double-click the<br />
newly recognized icon on the desktop t the folder where the images you<br />
want to import are stored.<br />
2 Drag and drop the image files to the hard disk icon.<br />
The image files are copied to the hard disk.<br />
3 Double-click the hard disk icon t the desired image file in the folder<br />
containing the copied files.<br />
The image is displayed.<br />
Deleting the USB connection<br />
Perform the procedures from step 1 to 3 below before:<br />
• Disconnecting the USB cable.<br />
• Removing a memory card.<br />
• Inserting a memory card into the camera after copying images from the internal memory.<br />
• Turning off the camera.<br />
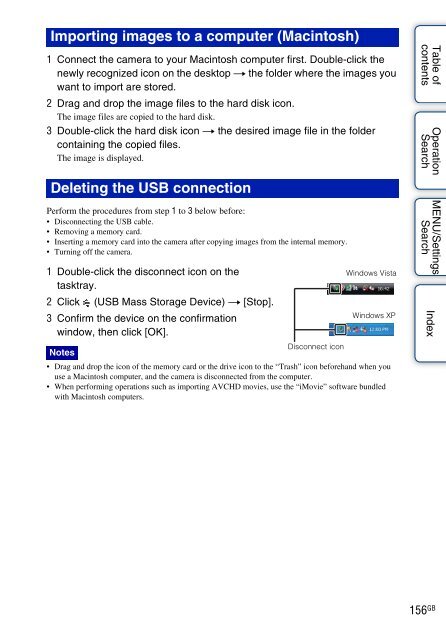
1 Double-click the disconnect icon on the<br />
tasktray.<br />
2 Click (USB Mass Storage Device) t [Stop].<br />
3 Confirm the device on the confirmation<br />
window, then click [OK].<br />
Windows Vista<br />
Windows XP<br />
Disconnect icon<br />
Notes<br />
• Drag and drop the icon of the memory card or the drive icon to the “Trash” icon beforehand when you<br />
use a Macintosh computer, and the camera is disconnected from the computer.<br />
• When <strong>per</strong>forming o<strong>per</strong>ations such as importing AVCHD movies, use the “iMovie” software bundled<br />
with Macintosh computers.<br />
Table of<br />
contents<br />
O<strong>per</strong>ation<br />
Search<br />
MENU/Settings<br />
Search<br />
Index<br />
156 GB


