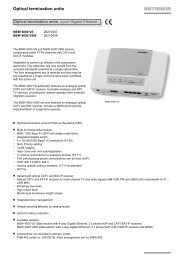
CAP 720 - Kathrein
CAP 720 - Kathrein
CAP 720 - Kathrein

You also want an ePaper? Increase the reach of your titles
YUMPU automatically turns print PDFs into web optimized ePapers that Google loves.
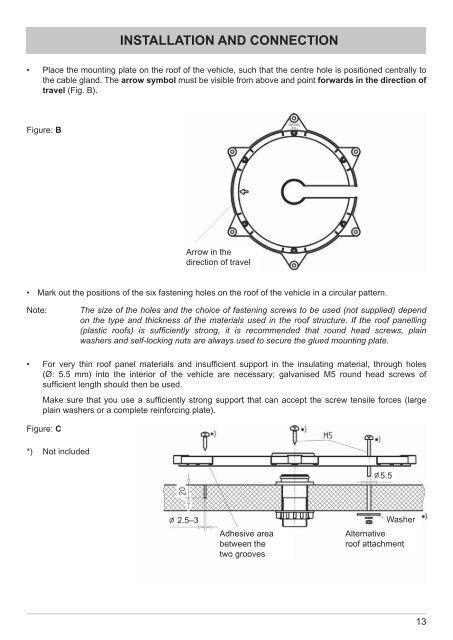
Figure: B<br />
INSTALLATION AND CONNECTION<br />
• Place the mounting plate on the roof of the vehicle, such that the centre hole is positioned centrally to<br />
the cable gland. The arrow symbol must be visible from above and point forwards in the direction of<br />
travel (Fig. B).<br />
• Mark out the positions of the six fastening holes on the roof of the vehicle in a circular pattern.<br />
Note: The size of the holes and the choice of fastening screws to be used (not supplied) depend<br />
on the type and thickness of the materials used in the roof structure. If the roof panelling<br />
(plastic roofs) is suffi ciently strong, it is recommended that round head screws, plain<br />
washers and self-locking nuts are always used to secure the glued mounting plate.<br />
• For very thin roof panel materials and insuffi cient support in the insulating material, through holes<br />
(Ø: 5.5 mm) into the interior of the vehicle are necessary; galvanised M5 round head screws of<br />
suffi cient length should then be used.<br />
Make sure that you use a suffi ciently strong support that can accept the screw tensile forces (large<br />
plain washers or a complete reinforcing plate).<br />
Figure: C<br />
*) Not included<br />
Arrow in the<br />
direction of travel<br />
2.5–3<br />
Adhesive area<br />
between the<br />
two grooves<br />
5.5<br />
Washer<br />
Alternative<br />
roof attachment<br />
13