CAP 720 - Kathrein
CAP 720 - Kathrein
CAP 720 - Kathrein

You also want an ePaper? Increase the reach of your titles
YUMPU automatically turns print PDFs into web optimized ePapers that Google loves.
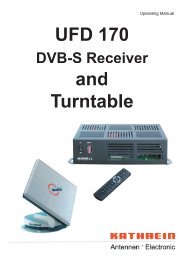
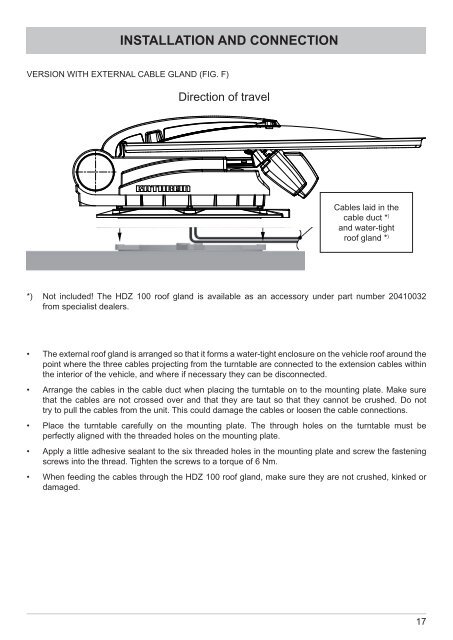
INSTALLATION AND CONNECTION<br />
VERSION WITH EXTERNAL CABLE GLAND (FIG. F)<br />
Direction of travel<br />
Cables laid in the<br />
cable duct * )<br />
and water-tight<br />
roof gland * )<br />
*) Not included! The HDZ 100 roof gland is available as an accessory under part number 20410032<br />
from specialist dealers.<br />
• The external roof gland is arranged so that it forms a water-tight enclosure on the vehicle roof around the<br />
point where the three cables projecting from the turntable are connected to the extension cables within<br />
the interior of the vehicle, and where if necessary they can be disconnected.<br />
• Arrange the cables in the cable duct when placing the turntable on to the mounting plate. Make sure<br />
that the cables are not crossed over and that they are taut so that they cannot be crushed. Do not<br />
try to pull the cables from the unit. This could damage the cables or loosen the cable connections.<br />
• Place the turntable carefully on the mounting plate. The through holes on the turntable must be<br />
perfectly aligned with the threaded holes on the mounting plate.<br />
• Apply a little adhesive sealant to the six threaded holes in the mounting plate and screw the fastening<br />
screws into the thread. Tighten the screws to a torque of 6 Nm.<br />
• When feeding the cables through the HDZ 100 roof gland, make sure they are not crushed, kinked or<br />
damaged.<br />
17