OPERATOR'S MANUAL BIOPROtect II JR Vent to ... - Baker Company
OPERATOR'S MANUAL BIOPROtect II JR Vent to ... - Baker Company
OPERATOR'S MANUAL BIOPROtect II JR Vent to ... - Baker Company
Create successful ePaper yourself
Turn your PDF publications into a flip-book with our unique Google optimized e-Paper software.
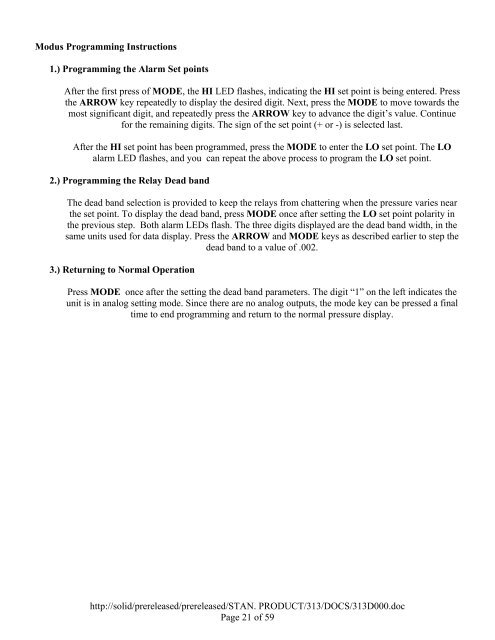
Modus Programming Instructions<br />
1.) Programming the Alarm Set points<br />
After the first press of MODE, the HI LED flashes, indicating the HI set point is being entered. Press<br />
the ARROW key repeatedly <strong>to</strong> display the desired digit. Next, press the MODE <strong>to</strong> move <strong>to</strong>wards the<br />
most significant digit, and repeatedly press the ARROW key <strong>to</strong> advance the digit’s value. Continue<br />
for the remaining digits. The sign of the set point (+ or -) is selected last.<br />
After the HI set point has been programmed, press the MODE <strong>to</strong> enter the LO set point. The LO<br />
alarm LED flashes, and you can repeat the above process <strong>to</strong> program the LO set point.<br />
2.) Programming the Relay Dead band<br />
The dead band selection is provided <strong>to</strong> keep the relays from chattering when the pressure varies near<br />
the set point. To display the dead band, press MODE once after setting the LO set point polarity in<br />
the previous step. Both alarm LEDs flash. The three digits displayed are the dead band width, in the<br />
same units used for data display. Press the ARROW and MODE keys as described earlier <strong>to</strong> step the<br />
dead band <strong>to</strong> a value of .002.<br />
3.) Returning <strong>to</strong> Normal Operation<br />
Press MODE once after the setting the dead band parameters. The digit “1” on the left indicates the<br />
unit is in analog setting mode. Since there are no analog outputs, the mode key can be pressed a final<br />
time <strong>to</strong> end programming and return <strong>to</strong> the normal pressure display.<br />
http://solid/prereleased/prereleased/STAN. PRODUCT/313/DOCS/313D000.doc<br />
Page 21 of 59


