

Akai XR20 Reference Manual - V1.3 - zZounds.com
Akai XR20 Reference Manual - V1.3 - zZounds.com
Akai XR20 Reference Manual - V1.3 - zZounds.com

You also want an ePaper? Increase the reach of your titles
YUMPU automatically turns print PDFs into web optimized ePapers that Google loves.
EDITING PATTERNS – COPY/SAVE FUNCTIONS<br />
SAVING A PATTERN<br />
The following operation will save the selected Pattern, including all sub-patterns (A, B and FILL) to a<br />
specific location, overwriting any data which may already exist. Please note that you need to save your<br />
Patterns if you wish to access them after you power-cycle the unit.<br />
1. The <strong>XR20</strong> should be in Pattern mode and stopped.<br />
2. Select the Pattern you wish to save.<br />
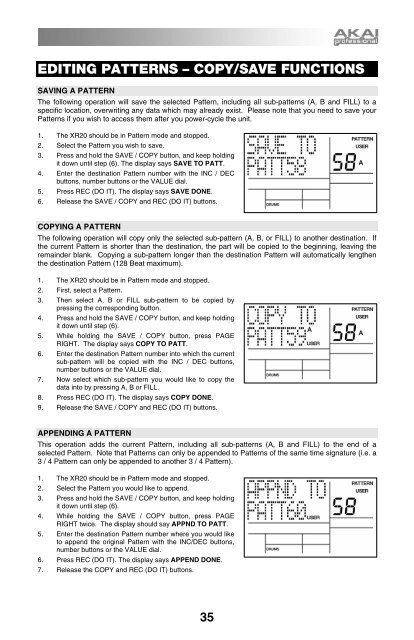
3. Press and hold the SAVE / COPY button, and keep holding<br />
it down until step (6). The display says SAVE TO PATT.<br />
4. Enter the destination Pattern number with the INC / DEC<br />
buttons, number buttons or the VALUE dial.<br />
5. Press REC (DO IT). The display says SAVE DONE.<br />
6. Release the SAVE / COPY and REC (DO IT) buttons.<br />
COPYING A PATTERN<br />
The following operation will copy only the selected sub-pattern (A, B, or FILL) to another destination. If<br />
the current Pattern is shorter than the destination, the part will be copied to the beginning, leaving the<br />
remainder blank. Copying a sub-pattern longer than the destination Pattern will automatically lengthen<br />
the destination Pattern (128 Beat maximum).<br />
1. The <strong>XR20</strong> should be in Pattern mode and stopped.<br />
2. First, select a Pattern.<br />
3. Then select A, B or FILL sub-pattern to be copied by<br />
pressing the corresponding button.<br />
4. Press and hold the SAVE / COPY button, and keep holding<br />
it down until step (6).<br />
5. While holding the SAVE / COPY button, press PAGE<br />
RIGHT. The display says COPY TO PATT.<br />
6. Enter the destination Pattern number into which the current<br />
sub-pattern will be copied with the INC / DEC buttons,<br />
number buttons or the VALUE dial.<br />
7. Now select which sub-pattern you would like to copy the<br />
data into by pressing A, B or FILL.<br />
8. Press REC (DO IT). The display says COPY DONE.<br />
9. Release the SAVE / COPY and REC (DO IT) buttons.<br />
APPENDING A PATTERN<br />
This operation adds the current Pattern, including all sub-patterns (A, B and FILL) to the end of a<br />
selected Pattern. Note that Patterns can only be appended to Patterns of the same time signature (i.e. a<br />
3 / 4 Pattern can only be appended to another 3 / 4 Pattern).<br />
1. The <strong>XR20</strong> should be in Pattern mode and stopped.<br />
2. Select the Pattern you would like to append.<br />
3. Press and hold the SAVE / COPY button, and keep holding<br />
it down until step (6).<br />
4. While holding the SAVE / COPY button, press PAGE<br />
RIGHT twice. The display should say APPND TO PATT.<br />
5. Enter the destination Pattern number where you would like<br />
to append the original Pattern with the INC/DEC buttons,<br />
number buttons or the VALUE dial.<br />
6. Press REC (DO IT). The display says APPEND DONE.<br />
7. Release the COPY and REC (DO IT) buttons.<br />
35


