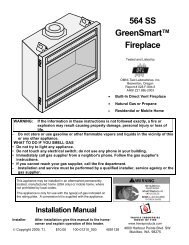
564 Space Saver Fireplace - Lopi
564 Space Saver Fireplace - Lopi
564 Space Saver Fireplace - Lopi

You also want an ePaper? Increase the reach of your titles
YUMPU automatically turns print PDFs into web optimized ePapers that Google loves.
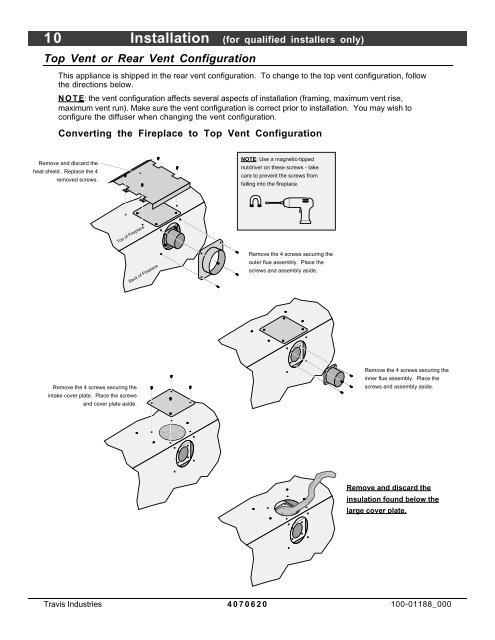
10 Installation (for qualified installers only)<br />
Top Vent or Rear Vent Configuration<br />
This appliance is shipped in the rear vent configuration. To change to the top vent configuration, follow<br />
the directions below.<br />
NOTE : the vent configuration affects several aspects of installation (framing, maximum vent rise,<br />
maximum vent run). Make sure the vent configuration is correct prior to installation. You may wish to<br />
configure the diffuser when changing the vent configuration.<br />
Converting the <strong>Fireplace</strong> to Top Vent Configuration<br />
Remove and discard the<br />
heat shield. Replace the 4<br />
removed screws.<br />
Top of <strong>Fireplace</strong><br />
Remove the 4 screws securing the<br />
intake cover plate. Place the screws<br />
and cover plate aside.<br />
Back of <strong>Fireplace</strong><br />
<br />
<br />
<br />
NOTE: Use a magnetic-tipped<br />
nutdriver on these screws - take<br />
care to prevent the screws from<br />
falling into the fireplace.<br />
Remove the 4 screws securing the<br />
outer flue assembly. Place the<br />
screws and assembly aside.<br />
<br />
<br />
<br />
<br />
<br />
<br />
<br />
<br />
Remove the 4 screws securing the<br />
inner flue assembly. Place the<br />
screws and assembly aside.<br />
Remove and discard the<br />
insulation found below the<br />
large cover plate.<br />
Travis Industries 4070620 100-01188_000