Wyko NT3300 Optical 3D Profiling System - Login | Nanolab, UCLA
Wyko NT3300 Optical 3D Profiling System - Login | Nanolab, UCLA
Wyko NT3300 Optical 3D Profiling System - Login | Nanolab, UCLA

You also want an ePaper? Increase the reach of your titles
YUMPU automatically turns print PDFs into web optimized ePapers that Google loves.
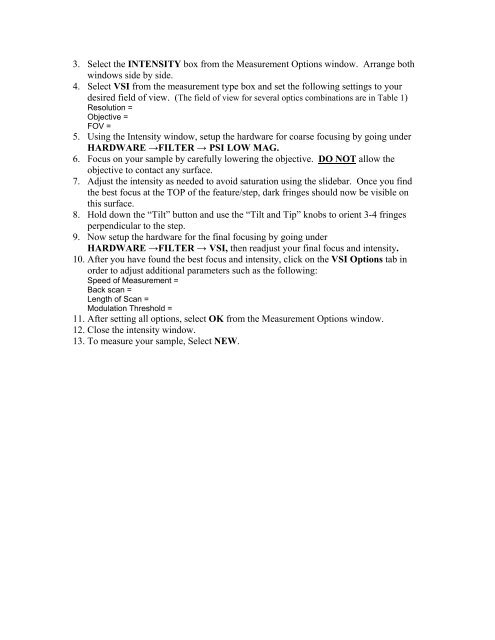
3. Select the INTENSITY box from the Measurement Options window. Arrange both<br />
windows side by side.<br />
4. Select VSI from the measurement type box and set the following settings to your<br />
desired field of view. (The field of view for several optics combinations are in Table 1)<br />
Resolution =<br />
Objective =<br />
FOV =<br />
5. Using the Intensity window, setup the hardware for coarse focusing by going under<br />
HARDWARE →FILTER → PSI LOW MAG.<br />
6. Focus on your sample by carefully lowering the objective. DO NOT allow the<br />
objective to contact any surface.<br />
7. Adjust the intensity as needed to avoid saturation using the slidebar. Once you find<br />
the best focus at the TOP of the feature/step, dark fringes should now be visible on<br />
this surface.<br />
8. Hold down the “Tilt” button and use the “Tilt and Tip” knobs to orient 3-4 fringes<br />
perpendicular to the step.<br />
9. Now setup the hardware for the final focusing by going under<br />
HARDWARE →FILTER → VSI, then readjust your final focus and intensity.<br />
10. After you have found the best focus and intensity, click on the VSI Options tab in<br />
order to adjust additional parameters such as the following:<br />
Speed of Measurement =<br />
Back scan =<br />
Length of Scan =<br />
Modulation Threshold =<br />
11. After setting all options, select OK from the Measurement Options window.<br />
12. Close the intensity window.<br />
13. To measure your sample, Select NEW.