Fall 2006 - Bellevue College
Fall 2006 - Bellevue College
Fall 2006 - Bellevue College

Create successful ePaper yourself
Turn your PDF publications into a flip-book with our unique Google optimized e-Paper software.
■<br />
■<br />
■<br />
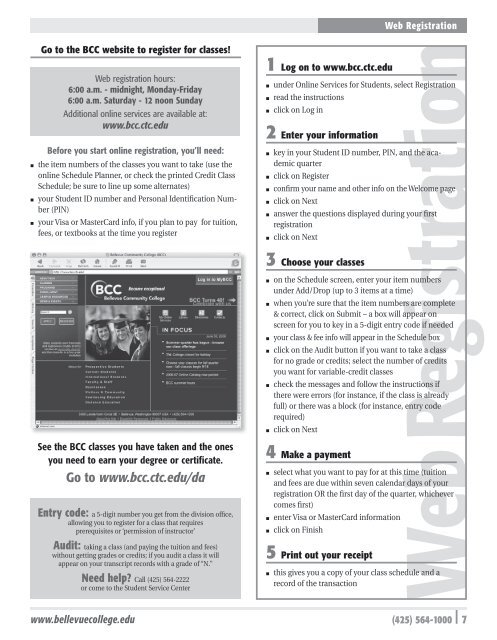
Go to the BCC website to register for classes!<br />
Web registration hours:<br />
6:00 a.m. - midnight, Monday-Friday<br />
6:00 a.m. Saturday - 12 noon Sunday<br />
Additional online services are available at:<br />
www.bcc.ctc.edu<br />
Before you start online registration, you’ll need:<br />
the item numbers of the classes you want to take (use the<br />
online Schedule Planner, or check the printed Credit Class<br />
Schedule; be sure to line up some alternates)<br />
your Student ID number and Personal Identification Number<br />
(PIN)<br />
your Visa or MasterCard info, if you plan to pay for tuition,<br />
fees, or textbooks at the time you register<br />
See the BCC classes you have taken and the ones<br />
you need to earn your degree or certificate.<br />
Go to www.bcc.ctc.edu/da<br />
Entry code: a 5-digit number you get from the division office,<br />
allowing you to register for a class that requires<br />
prerequisites or ‘permission of instructor’<br />
Audit: taking a class (and paying the tuition and fees)<br />
without getting grades or credits; if you audit a class it will<br />
appear on your transcript records with a grade of “N.”<br />
Need help? Call (425) 564-2222<br />
or come to the Student Service Center<br />
www.bellevuecollege.edu<br />
1 Log on to www.bcc.ctc.edu<br />
■<br />
Web Registration<br />
under Online Services for Students, select Registration<br />
■ read the instructions<br />
■ click on Log in<br />
2 Enter your information<br />
■ key in your Student ID number, PIN, and the academic<br />
quarter<br />
■ click on Register<br />
■ confirm your name and other info on the Welcome page<br />
■ click on Next<br />
■ answer the questions displayed during your first<br />
registration<br />
■ click on Next<br />
3 Choose your classes<br />
■ on the Schedule screen, enter your item numbers<br />
under Add/Drop (up to 3 items at a time)<br />
■ when you’re sure that the item numbers are complete<br />
& correct, click on Submit – a box will appear on<br />
screen for you to key in a 5-digit entry code if needed<br />
■ your class & fee info will appear in the Schedule box<br />
■ click on the Audit button if you want to take a class<br />
for no grade or credits; select the number of credits<br />
you want for variable-credit classes<br />
■ check the messages and follow the instructions if<br />
there were errors (for instance, if the class is already<br />
full) or there was a block (for instance, entry code<br />
required)<br />
■ click on Next<br />
4 Make a payment<br />
■ select what you want to pay for at this time (tuition<br />
and fees are due within seven calendar days of your<br />
registration OR the first day of the quarter, whichever<br />
comes first)<br />
■ enter Visa or MasterCard information<br />
■ click on Finish<br />
5 Print out your receipt<br />
■ this gives you a copy of your class schedule and a<br />
record of the transaction<br />
(425) 564-1000 | 7