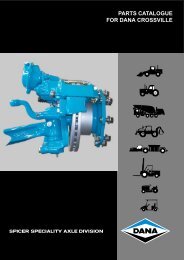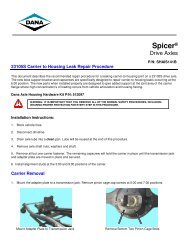
Single Reduction & Single Reduction with Differential Lock - Spicer
Single Reduction & Single Reduction with Differential Lock - Spicer
Single Reduction & Single Reduction with Differential Lock - Spicer

Create successful ePaper yourself
Turn your PDF publications into a flip-book with our unique Google optimized e-Paper software.
11<br />
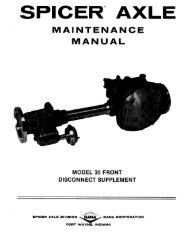
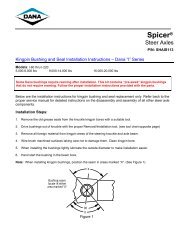
<strong>Differential</strong> Carrier<br />
Disassemble Carrier Assembly - (Rear Axles)<br />
Note: For models having the wheel differential lock option or a<br />
carrier thrust bolt follow the steps below. These parts<br />
must be removed first before further removal of the<br />
wheel differential and/or pinion can take place.<br />
Procedure - Remove Wheel <strong>Differential</strong> - Models <strong>with</strong><br />
Wheel <strong>Differential</strong> <strong>Lock</strong><br />
1. For ease of servicing, mount differential carrier in<br />
stand <strong>with</strong> differential lock facing up.<br />
Note: To remove the pinion assembly, the shift fork, clutch<br />
hand wheel Diff. assembly, must be removed from carrier.<br />
See instructions below.<br />
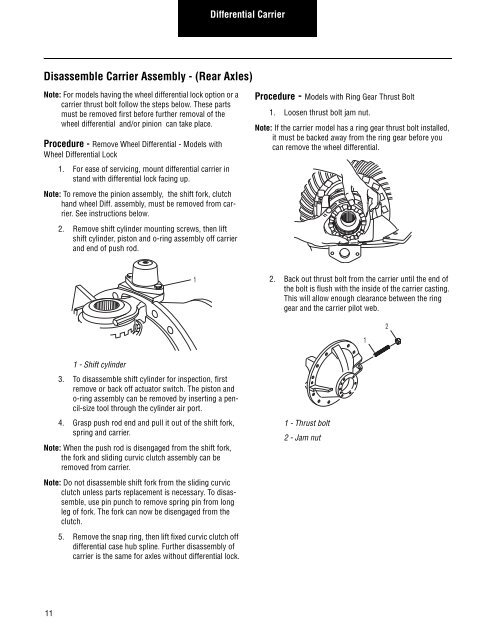
2. Remove shift cylinder mounting screws, then lift<br />
shift cylinder, piston and o-ring assembly off carrier<br />
and end of push rod.<br />
1 - Shift cylinder<br />
3. To disassemble shift cylinder for inspection, first<br />
remove or back off actuator switch. The piston and<br />
o-ring assembly can be removed by inserting a pencil-size<br />
tool through the cylinder air port.<br />
4. Grasp push rod end and pull it out of the shift fork,<br />
spring and carrier.<br />
Note: When the push rod is disengaged from the shift fork,<br />
the fork and sliding curvic clutch assembly can be<br />
removed from carrier.<br />
Note: Do not disassemble shift fork from the sliding curvic<br />
clutch unless parts replacement is necessary. To disassemble,<br />
use pin punch to remove spring pin from long<br />
leg of fork. The fork can now be disengaged from the<br />
clutch.<br />
5. Remove the snap ring, then lift fixed curvic clutch off<br />
differential case hub spline. Further disassembly of<br />
carrier is the same for axles <strong>with</strong>out differential lock.<br />
1<br />
Procedure - Models <strong>with</strong> Ring Gear Thrust Bolt<br />
1. Loosen thrust bolt jam nut.<br />
Note: If the carrier model has a ring gear thrust bolt installed,<br />
it must be backed away from the ring gear before you<br />
can remove the wheel differential.<br />
2. Back out thrust bolt from the carrier until the end of<br />
the bolt is flush <strong>with</strong> the inside of the carrier casting.<br />
This will allow enough clearance between the ring<br />
gear and the carrier pilot web.<br />
1 - Thrust bolt<br />
2 - Jam nut<br />
1<br />
2