HS-105P, PE. SA AutoCam™ Pan & Tilt Head - Vinten Radamec
HS-105P, PE. SA AutoCam™ Pan & Tilt Head - Vinten Radamec
HS-105P, PE. SA AutoCam™ Pan & Tilt Head - Vinten Radamec

You also want an ePaper? Increase the reach of your titles
YUMPU automatically turns print PDFs into web optimized ePapers that Google loves.
<strong>HS</strong>-<strong>105P</strong> Installation<br />
Mechanical Installation<br />
For installations where the heads are frequently moved from location to location,<br />
a wedge plate and adapter may be used to attach the head to its mount -<br />
contact <strong>Vinten</strong> Inc. for more information. Contact <strong>Vinten</strong> for other mounting<br />
adapters if they are required for your installation.<br />
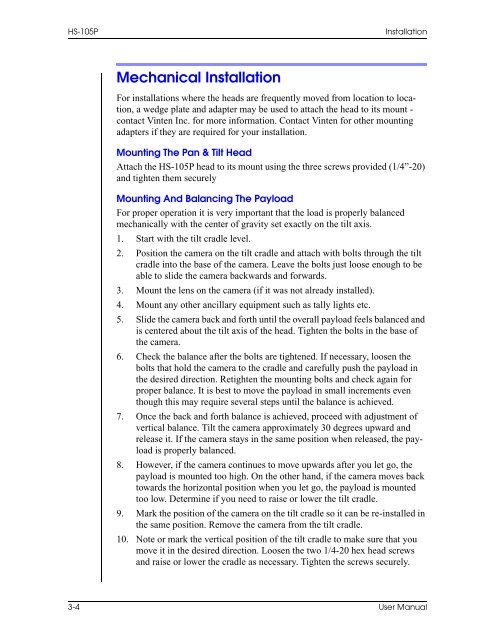
Mounting The <strong>Pan</strong> & <strong>Tilt</strong> <strong>Head</strong><br />
Attach the <strong>HS</strong>-<strong>105P</strong> head to its mount using the three screws provided (1/4”-20)<br />
and tighten them securely<br />
Mounting And Balancing The Payload<br />
For proper operation it is very important that the load is properly balanced<br />
mechanically with the center of gravity set exactly on the tilt axis.<br />
1. Start with the tilt cradle level.<br />
2. Position the camera on the tilt cradle and attach with bolts through the tilt<br />
cradle into the base of the camera. Leave the bolts just loose enough to be<br />
able to slide the camera backwards and forwards.<br />
3. Mount the lens on the camera (if it was not already installed).<br />
4. Mount any other ancillary equipment such as tally lights etc.<br />
5. Slide the camera back and forth until the overall payload feels balanced and<br />
is centered about the tilt axis of the head. Tighten the bolts in the base of<br />
the camera.<br />
6. Check the balance after the bolts are tightened. If necessary, loosen the<br />
bolts that hold the camera to the cradle and carefully push the payload in<br />
the desired direction. Retighten the mounting bolts and check again for<br />
proper balance. It is best to move the payload in small increments even<br />
though this may require several steps until the balance is achieved.<br />
7. Once the back and forth balance is achieved, proceed with adjustment of<br />
vertical balance. <strong>Tilt</strong> the camera approximately 30 degrees upward and<br />
release it. If the camera stays in the same position when released, the payload<br />
is properly balanced.<br />
8. However, if the camera continues to move upwards after you let go, the<br />
payload is mounted too high. On the other hand, if the camera moves back<br />
towards the horizontal position when you let go, the payload is mounted<br />
too low. Determine if you need to raise or lower the tilt cradle.<br />
9. Mark the position of the camera on the tilt cradle so it can be re-installed in<br />
the same position. Remove the camera from the tilt cradle.<br />
10. Note or mark the vertical position of the tilt cradle to make sure that you<br />
move it in the desired direction. Loosen the two 1/4-20 hex head screws<br />
and raise or lower the cradle as necessary. Tighten the screws securely.<br />
3-4 User Manual