
Create successful ePaper yourself
Turn your PDF publications into a flip-book with our unique Google optimized e-Paper software.
SETTINGS<br />
6 Select “Next”, then press ENTER.<br />
• If selecting “Yes” in the step 5, go to the step 8.<br />
7 Enter your DNS address.<br />
Enter your DNS address.<br />
Primary<br />
Secondary<br />
Next<br />
• The primary and secondary DNS addresses are<br />
entered using the screen for inputting characters.<br />
(See page 49.)<br />
Regarding each of the setup values, confirm the<br />
specifications of your broadband router.<br />
8 Select “Next”, then press ENTER.<br />
9 For testing the connection to the Internet, after<br />
confirming the settings, press a/b to select<br />
“Test”, then press ENTER.<br />
• “Test” is available only when setting to obtain the IP<br />
address automatically. “Test” cannot be selected if<br />
the IP address has not been obtained automatically.<br />
Confirm the current setting.<br />
IP Address : xxx xxx xxx xxx<br />
Netmask : xxx xxx xxx xxx<br />
Gateway : xxx xxx xxx xxx<br />
DNS Address : xxx xxx xxx xxx<br />
xxx xxx xxx xxx<br />
MAC Address : xx xx xx xx xx xx<br />
Test<br />
Complete<br />
• As a result of the test, if the Internet connection<br />
fails, enter the setup values manually.<br />
10 Press a/b to select “Complete”, then press<br />
ENTER.<br />
11 Press HOME or EXIT to return to the HOME<br />
screen.<br />
• To perform other settings, press j.<br />
When selecting Wireless<br />
CAUTION<br />
• We recommend writing down the MAC address of<br />
the connected wireless LAN adapter in this operation<br />
manual (page 48) and keeping it in a safe place. The<br />
MAC address is labeled on the adapter or displayed on<br />
the “Setting the info. of the Ethernet” screen (See step<br />
4 below).<br />
• When performing the wireless communication setup,<br />
security information for the wireless router/access<br />
point (WEP, WPA or WPA2 key) is required. Check your<br />
wireless router/access point’s information prior to setup.<br />
NOTE<br />
• Wireless communication setup cannot be performed<br />
when the wireless LAN adapter is not inserted.<br />
• Before this player can access the Internet wirelessly,<br />
setup of a wireless router/access point is required.<br />
1 Press a/b to select “Settings”, then press d or<br />
ENTER.<br />
2 Press a/b to select “Communication Setup”,<br />
then press d or ENTER.<br />
3 Press a/b to select “Ethernet Setup<br />
(Wireless)”, then press d or ENTER.<br />
4 Press a/b to select “Change”, then press<br />
ENTER.<br />
Setting the info. of the Ethernet<br />
MAC Address<br />
Access Point<br />
IP Address<br />
Netmask<br />
Gateway<br />
DNS<br />
: xx xx xx xx xx xx<br />
: Not Selected<br />
: Auto Setup<br />
: Auto Setup<br />
: Auto Setup<br />
: Auto Setup<br />
Change<br />
Initialize<br />
• For initializing the current setting, select “Initialize”,<br />
then press ENTER.<br />
5 The player scans all of the available access<br />
points and displays the points with the “Other<br />
Network” selection bar on the screen.<br />
• During searching access point(s), “Accessing...”<br />
appears on the screen.<br />
• Up to 6 items (5 access points and the “Other<br />
Network” selection bar) are displayed on the screen.<br />
• When there are six or more items retrieved, display<br />
the next screen by selecting “Next”, then pressing<br />
ENTER. (The “Other Network” selection bar is<br />
always displayed last.) When no available access<br />
points are retrieved, only the “Other Network”<br />
selection bar is displayed on the screen.<br />
6 Press a/b to select “desired access point” or<br />
“Other Network”, then press ENTER.<br />
• For access points which are set to hide the SSID<br />
using the wireless router, select “Other Network” to<br />
set the access point.<br />
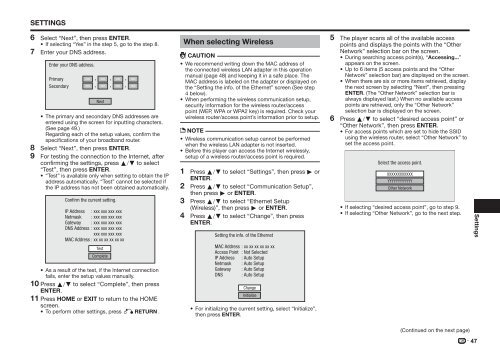
Select the access point.<br />
XXXXXXXXXXXX<br />
YYYYYYYYYYYY<br />
Other Network<br />
• If selecting “desired access point”, go to step 9.<br />
• If selecting “Other Network”, go to the next step.<br />
Settings<br />
(Continued on the next page)<br />
47