Nanosurf easyScan 2 AFM Operating Instructions
Nanosurf easyScan 2 AFM Operating Instructions
Nanosurf easyScan 2 AFM Operating Instructions
Create successful ePaper yourself
Turn your PDF publications into a flip-book with our unique Google optimized e-Paper software.
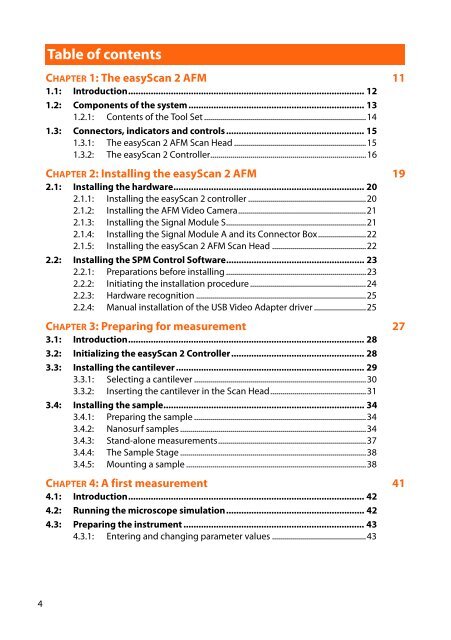
Table of contents<br />
CHAPTER 1: The <strong>easyScan</strong> 2 <strong>AFM</strong> 11<br />
1.1: Introduction.............................................................................................. 12<br />
1.2: Components of the system ...................................................................... 13<br />
1.2.1: Contents of the Tool Set .................................................................................14<br />
1.3: Connectors, indicators and controls ....................................................... 15<br />
1.3.1: The <strong>easyScan</strong> 2 <strong>AFM</strong> Scan Head ..................................................................15<br />
1.3.2: The <strong>easyScan</strong> 2 Controller..............................................................................16<br />
CHAPTER 2: Installing the <strong>easyScan</strong> 2 <strong>AFM</strong> 19<br />
2.1: Installing the hardware............................................................................ 20<br />
2.1.1: Installing the <strong>easyScan</strong> 2 controller ...........................................................20<br />
2.1.2: Installing the <strong>AFM</strong> Video Camera................................................................21<br />
2.1.3: Installing the Signal Module S......................................................................21<br />
2.1.4: Installing the Signal Module A and its Connector Box........................22<br />
2.1.5: Installing the <strong>easyScan</strong> 2 <strong>AFM</strong> Scan Head ...............................................22<br />
2.2: Installing the SPM Control Software....................................................... 23<br />
2.2.1: Preparations before installing ......................................................................23<br />
2.2.2: Initiating the installation procedure ..........................................................24<br />
2.2.3: Hardware recognition .....................................................................................25<br />
2.2.4: Manual installation of the USB Video Adapter driver ..........................25<br />
CHAPTER 3: Preparing for measurement 27<br />
3.1: Introduction.............................................................................................. 28<br />
3.2: Initializing the <strong>easyScan</strong> 2 Controller..................................................... 28<br />
3.3: Installing the cantilever ........................................................................... 29<br />
3.3.1: Selecting a cantilever ......................................................................................30<br />
3.3.2: Inserting the cantilever in the Scan Head................................................31<br />
3.4: Installing the sample................................................................................ 34<br />
3.4.1: Preparing the sample ......................................................................................34<br />
3.4.2: <strong>Nanosurf</strong> samples .............................................................................................34<br />
3.4.3: Stand-alone measurements..........................................................................37<br />
3.4.4: The Sample Stage .............................................................................................38<br />
3.4.5: Mounting a sample ..........................................................................................38<br />
CHAPTER 4: A first measurement 41<br />
4.1: Introduction.............................................................................................. 42<br />
4.2: Running the microscope simulation....................................................... 42<br />
4.3: Preparing the instrument ........................................................................ 43<br />
4.3.1: Entering and changing parameter values ...............................................43<br />
4


