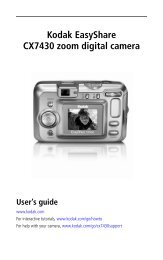
KODAK EASYSHARE DX4900 Zoom Digital Camera User's Guide
KODAK EASYSHARE DX4900 Zoom Digital Camera User's Guide
KODAK EASYSHARE DX4900 Zoom Digital Camera User's Guide

You also want an ePaper? Increase the reach of your titles
YUMPU automatically turns print PDFs into web optimized ePapers that Google loves.
5 Installing the Software<br />
Make sure that you install the software from the <strong>KODAK</strong> Picture Software CD<br />
before you transfer pictures from your camera to the computer.<br />
MACINTOSH OS X users, see the note on page 40 before installing the software.<br />
Install the Software<br />
CAUTION:<br />
Do NOT have your camera or <strong>KODAK</strong> <strong>EASYSHARE</strong> <strong>Camera</strong><br />
Dock connected to the computer when you install the<br />
software. Doing so causes the software to load incorrectly.<br />
1 Before you begin, close all software applications running on your<br />
computer.<br />
2 Place the <strong>KODAK</strong> Picture Software CD into the CD-ROM drive.<br />
3 Install the software:<br />
On a WINDOWS-based computer—usually, the first install window<br />
automatically appears. If it does not, choose Run from the Start menu and<br />
type the drive letter that contains the CD followed by \setup.exe. For<br />
example: d:\setup.exe.<br />
On a MACINTOSH computer—click Continue on the install window that<br />
automatically appears.<br />
4 Follow the on-screen instructions to install the software. If prompted,<br />
restart the computer when the installation is complete.<br />
To install all applications on the CD, select Typical when prompted.<br />
To choose the applications you wish to install, select Custom when<br />
prompted. See page 41 for a description of the applications that are<br />
included on the CD.<br />
39