Fizmo Manual.pdf - Ugo Audio
Fizmo Manual.pdf - Ugo Audio
Fizmo Manual.pdf - Ugo Audio
Create successful ePaper yourself
Turn your PDF publications into a flip-book with our unique Google optimized e-Paper software.
6—Programming Sounds<br />
Tip: Once you’ve turned the Amplitude Level knob, you can also use the -/No or +/Yes button to set the<br />
oscillator’s volume.<br />
Tip: Envelope 3 is pre-assigned to the oscillator’s level setting, allowing you to program volume changes that<br />
occur over a period of time, and to set the oscillator’s decay time.<br />
Setting an Oscillator’s Stereo Position<br />
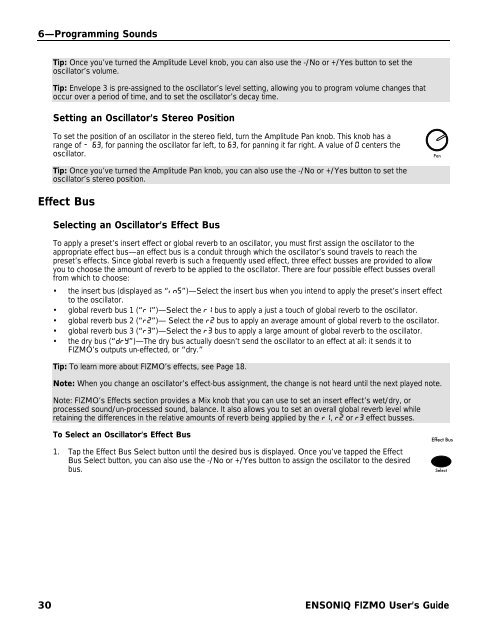
To set the position of an oscillator in the stereo field, turn the Amplitude Pan knob. This knob has a<br />
range of - 63, for panning the oscillator far left, to 63, for panning it far right. A value of 0 centers the<br />
oscillator.<br />
Pan<br />
Tip: Once you’ve turned the Amplitude Pan knob, you can also use the -/No or +/Yes button to set the<br />
oscillator’s stereo position.<br />
Effect Bus<br />
Selecting an Oscillator’s Effect Bus<br />
To apply a preset’s insert effect or global reverb to an oscillator, you must first assign the oscillator to the<br />
appropriate effect bus—an effect bus is a conduit through which the oscillator’s sound travels to reach the<br />
preset’s effects. Since global reverb is such a frequently used effect, three effect busses are provided to allow<br />
you to choose the amount of reverb to be applied to the oscillator. There are four possible effect busses overall<br />
from which to choose:<br />
• the insert bus (displayed as “inS”)—Select the insert bus when you intend to apply the preset’s insert effect<br />
to the oscillator.<br />
• global reverb bus 1 (“r1”)—Select the r1 bus to apply a just a touch of global reverb to the oscillator.<br />
• global reverb bus 2 (“r2”)— Select the r2 bus to apply an average amount of global reverb to the oscillator.<br />
• global reverb bus 3 (“r3”)—Select the r3 bus to apply a large amount of global reverb to the oscillator.<br />
• the dry bus (“dry”)—The dry bus actually doesn’t send the oscillator to an effect at all: it sends it to<br />
FIZMO’s outputs un-effected, or “dry.”<br />
Tip: To learn more about FIZMO’s effects, see Page 18.<br />
Note: When you change an oscillator’s effect-bus assignment, the change is not heard until the next played note.<br />
Note: FIZMO’s Effects section provides a Mix knob that you can use to set an insert effect’s wet/dry, or<br />
processed sound/un-processed sound, balance. It also allows you to set an overall global reverb level while<br />
retaining the differences in the relative amounts of reverb being applied by the r1, r2 or r3 effect busses.<br />
To Select an Oscillator’s Effect Bus<br />
1. Tap the Effect Bus Select button until the desired bus is displayed. Once you’ve tapped the Effect<br />
Bus Select button, you can also use the -/No or +/Yes button to assign the oscillator to the desired<br />
bus.<br />
Effect Bus<br />
Select<br />
30 ENSONIQ FIZMO User’s Guide


