GLYCO DOC GEL IMAGING SYSTEM - Bio-Rad
GLYCO DOC GEL IMAGING SYSTEM - Bio-Rad
GLYCO DOC GEL IMAGING SYSTEM - Bio-Rad
Create successful ePaper yourself
Turn your PDF publications into a flip-book with our unique Google optimized e-Paper software.
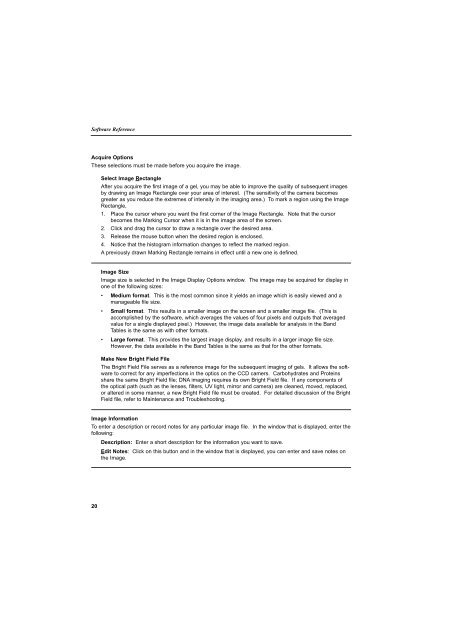
Software Reference<br />
Acquire Options<br />
These selections must be made before you acquire the image.<br />
Select Image Rectangle<br />
After you acquire the first image of a gel, you may be able to improve the quality of subsequent images<br />
by drawing an Image Rectangle over your area of interest. (The sensitivity of the camera becomes<br />
greater as you reduce the extremes of intensity in the imaging area.) To mark a region using the Image<br />
Rectangle,<br />
1. Place the cursor where you want the first corner of the Image Rectangle. Note that the cursor<br />
becomes the Marking Cursor when it is in the image area of the screen.<br />
2. Click and drag the cursor to draw a rectangle over the desired area.<br />
3. Release the mouse button when the desired region is enclosed.<br />
4. Notice that the histogram information changes to reflect the marked region.<br />
A previously drawn Marking Rectangle remains in effect until a new one is defined.<br />
Image Size<br />
Image size is selected in the Image Display Options window. The image may be acquired for display in<br />
one of the following sizes:<br />
• Medium format. This is the most common since it yields an image which is easily viewed and a<br />
manageable file size.<br />
• Small format. This results in a smaller image on the screen and a smaller image file. (This is<br />
accomplished by the software, which averages the values of four pixels and outputs that averaged<br />
value for a single displayed pixel.) However, the image data available for analysis in the Band<br />
Tables is the same as with other formats.<br />
• Large format. This provides the largest image display, and results in a larger image file size.<br />
However, the data available in the Band Tables is the same as that for the other formats.<br />
Make New Bright Field File<br />
The Bright Field File serves as a reference image for the subsequent imaging of gels. It allows the software<br />
to correct for any imperfections in the optics on the CCD camers. Carbohydrates and Proteins<br />
share the same Bright Field file; DNA imaging requires its own Bright Field file. If any components of<br />
the optical path (such as the lenses, filters, UV light, mirror and camera) are cleaned, moved, replaced,<br />
or altered in some manner, a new Bright Field file must be created. For detailed discussion of the Bright<br />
Field file, refer to Maintenance and Troubleshooting.<br />
Image Information<br />
To enter a description or record notes for any particular image file. In the window that is displayed, enter the<br />
following:<br />
Description: Enter a short description for the information you want to save.<br />
Edit Notes: Click on this button and in the window that is displayed, you can enter and save notes on<br />
the Image.<br />
20


