Adding and Formatting Slides, Notes, and Handouts
Adding and Formatting Slides, Notes, and Handouts
Adding and Formatting Slides, Notes, and Handouts

Create successful ePaper yourself
Turn your PDF publications into a flip-book with our unique Google optimized e-Paper software.
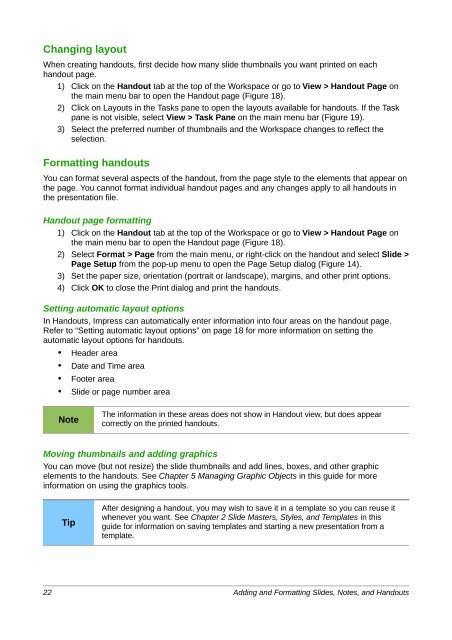
Changing layout<br />
When creating h<strong>and</strong>outs, first decide how many slide thumbnails you want printed on each<br />
h<strong>and</strong>out page.<br />
1) Click on the H<strong>and</strong>out tab at the top of the Workspace or go to View > H<strong>and</strong>out Page on<br />
the main menu bar to open the H<strong>and</strong>out page (Figure 18).<br />
2) Click on Layouts in the Tasks pane to open the layouts available for h<strong>and</strong>outs. If the Task<br />
pane is not visible, select View > Task Pane on the main menu bar (Figure 19).<br />
3) Select the preferred number of thumbnails <strong>and</strong> the Workspace changes to reflect the<br />
selection.<br />
<strong>Formatting</strong> h<strong>and</strong>outs<br />
You can format several aspects of the h<strong>and</strong>out, from the page style to the elements that appear on<br />
the page. You cannot format individual h<strong>and</strong>out pages <strong>and</strong> any changes apply to all h<strong>and</strong>outs in<br />
the presentation file.<br />
H<strong>and</strong>out page formatting<br />
1) Click on the H<strong>and</strong>out tab at the top of the Workspace or go to View > H<strong>and</strong>out Page on<br />
the main menu bar to open the H<strong>and</strong>out page (Figure 18).<br />
2) Select Format > Page from the main menu, or right-click on the h<strong>and</strong>out <strong>and</strong> select Slide ><br />
Page Setup from the pop-up menu to open the Page Setup dialog (Figure 14).<br />
3) Set the paper size, orientation (portrait or l<strong>and</strong>scape), margins, <strong>and</strong> other print options.<br />
4) Click OK to close the Print dialog <strong>and</strong> print the h<strong>and</strong>outs.<br />
Setting automatic layout options<br />
In H<strong>and</strong>outs, Impress can automatically enter information into four areas on the h<strong>and</strong>out page.<br />
Refer to “Setting automatic layout options” on page 18 for more information on setting the<br />
automatic layout options for h<strong>and</strong>outs.<br />
• Header area<br />
• Date <strong>and</strong> Time area<br />
• Footer area<br />
• Slide or page number area<br />
Note<br />
The information in these areas does not show in H<strong>and</strong>out view, but does appear<br />
correctly on the printed h<strong>and</strong>outs.<br />
Moving thumbnails <strong>and</strong> adding graphics<br />
You can move (but not resize) the slide thumbnails <strong>and</strong> add lines, boxes, <strong>and</strong> other graphic<br />
elements to the h<strong>and</strong>outs. See Chapter 5 Managing Graphic Objects in this guide for more<br />
information on using the graphics tools.<br />
Tip<br />
After designing a h<strong>and</strong>out, you may wish to save it in a template so you can reuse it<br />
whenever you want. See Chapter 2 Slide Masters, Styles, <strong>and</strong> Templates in this<br />
guide for information on saving templates <strong>and</strong> starting a new presentation from a<br />
template.<br />
22 <strong>Adding</strong> <strong>and</strong> <strong>Formatting</strong> <strong>Slides</strong>, <strong>Notes</strong>, <strong>and</strong> H<strong>and</strong>outs