Download Prodigy Instruction Manual PDF file - Raynor Garage Doors
Download Prodigy Instruction Manual PDF file - Raynor Garage Doors
Download Prodigy Instruction Manual PDF file - Raynor Garage Doors

You also want an ePaper? Increase the reach of your titles
YUMPU automatically turns print PDFs into web optimized ePapers that Google loves.
1<br />
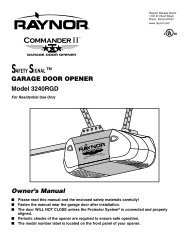
Introduction<br />
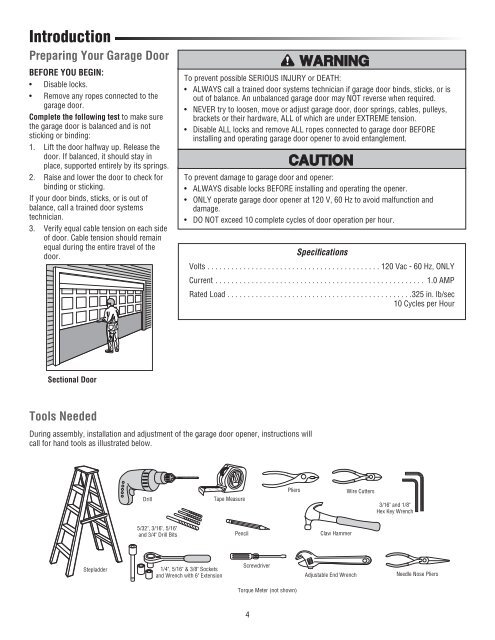
Preparing Your <strong>Garage</strong> Door<br />
BEFORE YOU BEGIN:<br />
• Disable locks.<br />
• Remove any ropes connected to the<br />
garage door.<br />
Complete the following test to make sure<br />
the garage door is balanced and is not<br />
sticking or binding:<br />
1. Lift the door halfway up. Release the<br />
door. If balanced, it should stay in<br />
place, supported entirely by its springs.<br />
2. Raise and lower the door to check for<br />
binding or sticking.<br />
If your door binds, sticks, or is out of<br />
balance, call a trained door systems<br />
technician.<br />
3. Verify equal cable tension on each side<br />
of door. Cable tension should remain<br />
equal during the entire travel of the<br />
door.<br />
To prevent possible SERIOUS INJURY or DEATH:<br />
• ALWAYS call a trained door systems technician if garage door binds, sticks, or is<br />
out of balance. An unbalanced garage door may NOT reverse when required.<br />
• NEVER try to loosen, move or adjust garage door, door springs, cables, pulleys,<br />
brackets or their hardware, ALL of which are under EXTREME tension.<br />
• Disable ALL locks and remove ALL ropes connected to garage door BEFORE<br />
installing and operating garage door opener to avoid entanglement.<br />
To prevent damage to garage door and opener:<br />
• ALWAYS disable locks BEFORE installing and operating the opener.<br />
• ONLY operate garage door opener at 120 V, 60 Hz to avoid malfunction and<br />
damage.<br />
• DO NOT exceed 10 complete cycles of door operation per hour.<br />
Specifi cations<br />
Volts . . . . . . . . . . . . . . . . . . . . . . . . . . . . . . . . . . . . . . . . . . . 120 Vac - 60 Hz, ONLY<br />
Current . . . . . . . . . . . . . . . . . . . . . . . . . . . . . . . . . . . . . . . . . . . . . . . . . . . . 1.0 AMP<br />
Rated Load . . . . . . . . . . . . . . . . . . . . . . . . . . . . . . . . . . . . . . . . . . . . . .325 in. lb/sec<br />
10 Cycles per Hour<br />
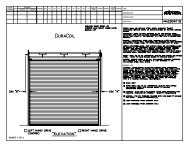
Sectional Door<br />
Tools Needed<br />
During assembly, installation and adjustment of the garage door opener, instructions will<br />
call for hand tools as illustrated below.<br />
Drill<br />
2<br />
Tape Measure<br />
Pliers<br />
Wire Cutters<br />
3/16" and 1/8"<br />
Hex Key Wrench<br />
5/32", 3/16", 5/16"<br />
and 3/4" Drill Bits<br />
Pencil<br />
Claw Hammer<br />
Stepladder<br />
1/4", 5/16" & 3/8" Sockets<br />
and Wrench with 6" Extension<br />
Screwdriver<br />
Adjustable End Wrench<br />
Needle Nose Pliers<br />
Torque Meter (not shown)<br />
4