Download Prodigy Instruction Manual PDF file - Raynor Garage Doors
Download Prodigy Instruction Manual PDF file - Raynor Garage Doors
Download Prodigy Instruction Manual PDF file - Raynor Garage Doors

Create successful ePaper yourself
Turn your PDF publications into a flip-book with our unique Google optimized e-Paper software.
Assembly<br />
1<br />
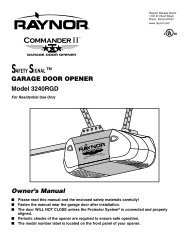
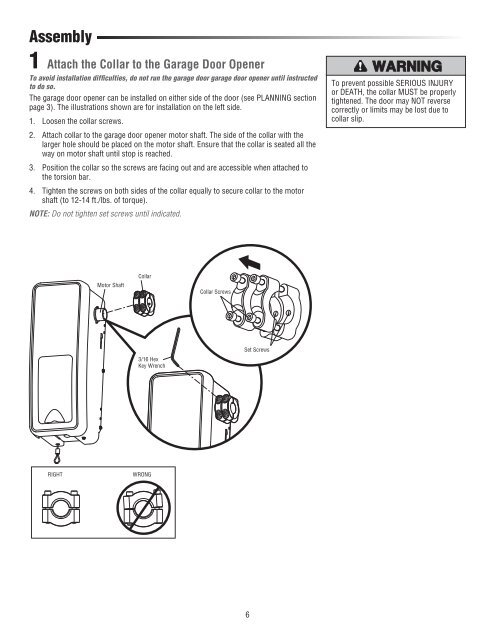
Attach the Collar to the <strong>Garage</strong> Door Opener<br />
To avoid installation difficulties, do not run the garage door garage door opener until instructed<br />
to do so.<br />
The garage door opener can be installed on either side of the door (see PLANNING section<br />
page 3). The illustrations shown are for installation on the left side.<br />
1. Loosen the collar screws.<br />
2. Attach collar to the garage door opener motor shaft. The side of the collar with the<br />
larger hole should be placed on the motor shaft. Ensure that the collar is seated all the<br />
way on motor shaft until stop is reached.<br />
3. Position the collar so the screws are facing out and are accessible when attached to<br />
the torsion bar.<br />
4. Tighten the screws on both sides of the collar equally to secure collar to the motor<br />
shaft (to 12-14 ft./lbs. of torque).<br />
NOTE: Do not tighten set screws until indicated.<br />
To prevent possible SERIOUS INJURY<br />
or DEATH, the collar MUST be properly<br />
tightened. The door may NOT reverse<br />
correctly or limits may be lost due to<br />
collar slip.<br />
Motor Shaft<br />
Collar<br />
Collar Screws<br />
3/16 Hex<br />
Key Wrench<br />
Set Screws<br />
RIGHT<br />
WRONG<br />
6