SonicWALL Global VPN Client
SonicWALL Global VPN Client
SonicWALL Global VPN Client
- No tags were found...
Create successful ePaper yourself
Turn your PDF publications into a flip-book with our unique Google optimized e-Paper software.
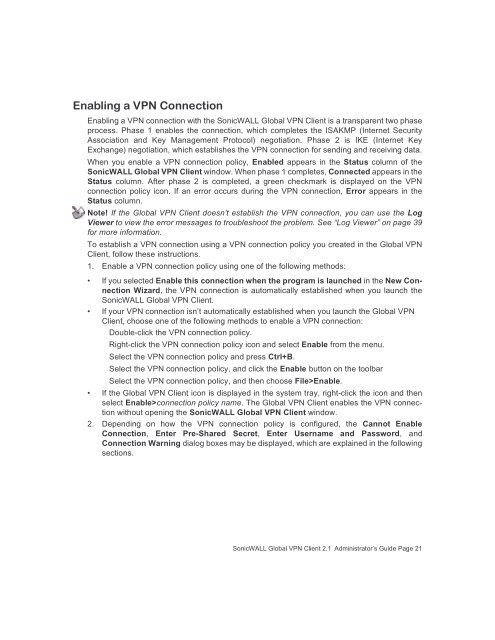
Enabling a <strong>VPN</strong> ConnectionEnabling a <strong>VPN</strong> connection with the <strong>SonicWALL</strong> <strong>Global</strong> <strong>VPN</strong> <strong>Client</strong> is a transparent two phaseprocess. Phase 1 enables the connection, which completes the ISAKMP (Internet SecurityAssociation and Key Management Protocol) negotiation. Phase 2 is IKE (Internet KeyExchange) negotiation, which establishes the <strong>VPN</strong> connection for sending and receiving data.When you enable a <strong>VPN</strong> connection policy, Enabled appears in the Status column of the<strong>SonicWALL</strong> <strong>Global</strong> <strong>VPN</strong> <strong>Client</strong> window. When phase 1 completes, Connected appears in theStatus column. After phase 2 is completed, a green checkmark is displayed on the <strong>VPN</strong>connection policy icon. If an error occurs during the <strong>VPN</strong> connection, Error appears in theStatus column.Note! If the <strong>Global</strong> <strong>VPN</strong> <strong>Client</strong> doesn’t establish the <strong>VPN</strong> connection, you can use the LogViewer to view the error messages to troubleshoot the problem. See “Log Viewer” on page 39for more information.To establish a <strong>VPN</strong> connection using a <strong>VPN</strong> connection policy you created in the <strong>Global</strong> <strong>VPN</strong><strong>Client</strong>, follow these instructions.1. Enable a <strong>VPN</strong> connection policy using one of the following methods:• If you selected Enable this connection when the program is launched in the New ConnectionWizard, the <strong>VPN</strong> connection is automatically established when you launch the<strong>SonicWALL</strong> <strong>Global</strong> <strong>VPN</strong> <strong>Client</strong>.• If your <strong>VPN</strong> connection isn’t automatically established when you launch the <strong>Global</strong> <strong>VPN</strong><strong>Client</strong>, choose one of the following methods to enable a <strong>VPN</strong> connection:Double-click the <strong>VPN</strong> connection policy.Right-click the <strong>VPN</strong> connection policy icon and select Enable from the menu.Select the <strong>VPN</strong> connection policy and press Ctrl+B.Select the <strong>VPN</strong> connection policy, and click the Enable button on the toolbarSelect the <strong>VPN</strong> connection policy, and then choose File>Enable.• If the <strong>Global</strong> <strong>VPN</strong> <strong>Client</strong> icon is displayed in the system tray, right-click the icon and thenselect Enable>connection policy name. The <strong>Global</strong> <strong>VPN</strong> <strong>Client</strong> enables the <strong>VPN</strong> connectionwithout opening the <strong>SonicWALL</strong> <strong>Global</strong> <strong>VPN</strong> <strong>Client</strong> window.2. Depending on how the <strong>VPN</strong> connection policy is configured, the Cannot EnableConnection, Enter Pre-Shared Secret, Enter Username and Password, andConnection Warning dialog boxes may be displayed, which are explained in the followingsections.<strong>SonicWALL</strong> <strong>Global</strong> <strong>VPN</strong> <strong>Client</strong> 2.1 Administrator’s Guide Page 21


