Pool & Spa Heaters
Pool & Spa Heaters
Pool & Spa Heaters

You also want an ePaper? Increase the reach of your titles
YUMPU automatically turns print PDFs into web optimized ePapers that Google loves.
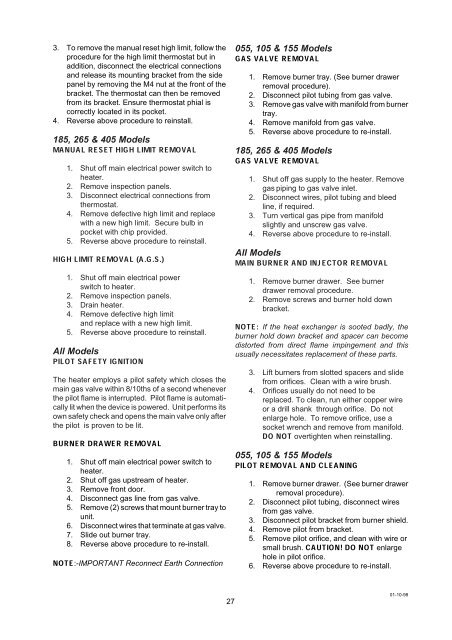
3. To remove the manual reset high limit, follow theprocedure for the high limit thermostat but inaddition, disconnect the electrical connectionsand release its mounting bracket from the sidepanel by removing the M4 nut at the front of thebracket. The thermostat can then be removedfrom its bracket. Ensure thermostat phial iscorrectly located in its pocket.4. Reverse above procedure to reinstall.185, 265 & 405 ModelsMANUAL RESET HIGH LIMIT REMOVAL1. Shut off main electrical power switch toheater.2. Remove inspection panels.3. Disconnect electrical connections fromthermostat.4. Remove defective high limit and replacewith a new high limit. Secure bulb inpocket with chip provided.5. Reverse above procedure to reinstall.HIGH LIMIT REMOVAL (A.G.S.)1. Shut off main electrical powerswitch to heater.2. Remove inspection panels.3. Drain heater.4. Remove defective high limitand replace with a new high limit.5. Reverse above procedure to reinstall.All ModelsPILOT SAFETY IGNITIONThe heater employs a pilot safety which closes themain gas valve within 8/10ths of a second wheneverthe pilot flame is interrupted. Pilot flame is automaticallylit when the device is powered. Unit performs itsown safety check and opens the main valve only afterthe pilot is proven to be lit.BURNER DRAWER REMOVAL1. Shut off main electrical power switch toheater.2. Shut off gas upstream of heater.3. Remove front door.4. Disconnect gas line from gas valve.5. Remove (2) screws that mount burner tray tounit.6. Disconnect wires that terminate at gas valve.7. Slide out burner tray.8. Reverse above procedure to re-install.NOTE:-IMPORTANT Reconnect Earth Connection055, 105 & 155 ModelsGAS VALVE REMOVAL1. Remove burner tray. (See burner drawerremoval procedure).2. Disconnect pilot tubing from gas valve.3. Remove gas valve with manifold from burnertray.4. Remove manifold from gas valve.5. Reverse above procedure to re-install.185, 265 & 405 ModelsGAS VALVE REMOVAL1. Shut off gas supply to the heater. Removegas piping to gas valve inlet.2. Disconnect wires, pilot tubing and bleedline, if required.3. Turn vertical gas pipe from manifoldslightly and unscrew gas valve.4. Reverse above procedure to re-install.All ModelsMAIN BURNER AND INJECTOR REMOVAL1. Remove burner drawer. See burnerdrawer removal procedure.2. Remove screws and burner hold downbracket.NOTE: If the heat exchanger is sooted badly, theburner hold down bracket and spacer can becomedistorted from direct flame impingement and thisusually necessitates replacement of these parts.3. Lift burners from slotted spacers and slidefrom orifices. Clean with a wire brush.4. Orifices usually do not need to bereplaced. To clean, run either copper wireor a drill shank through orifice. Do notenlarge hole. To remove orifice, use asocket wrench and remove from manifold.DO NOT overtighten when reinstalling.055, 105 & 155 ModelsPILOT REMOVAL AND CLEANING1. Remove burner drawer. (See burner drawerremoval procedure).2. Disconnect pilot tubing, disconnect wiresfrom gas valve.3. Disconnect pilot bracket from burner shield.4. Remove pilot from bracket.5. Remove pilot orifice, and clean with wire orsmall brush. CAUTION! DO NOT enlargehole in pilot orifice.6. Reverse above procedure to re-install.2701-10-98
![314 MSDS - Swimfresh Calcium Hardness In[...]](https://img.yumpu.com/49910507/1/190x245/314-msds-swimfresh-calcium-hardness-in.jpg?quality=85)