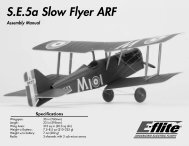
Cessna 150 Aerobat 250 ARF - Great Hobbies
Cessna 150 Aerobat 250 ARF - Great Hobbies
Cessna 150 Aerobat 250 ARF - Great Hobbies
- No tags were found...

Create successful ePaper yourself
Turn your PDF publications into a flip-book with our unique Google optimized e-Paper software.
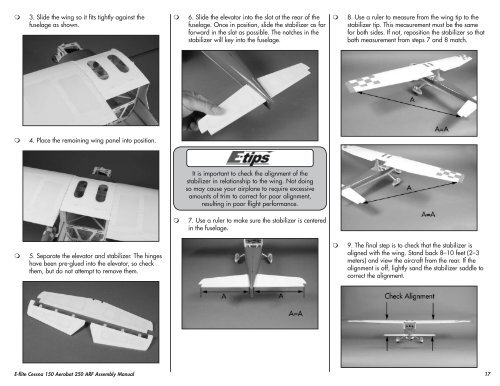
3. Slide the wing so it fits tightly against thefuselage as shown.6. Slide the elevator into the slot at the rear of thefuselage. Once in position, slide the stabilizer as farforward in the slot as possible. The notches in thestabilizer will key into the fuselage.8. Use a ruler to measure from the wing tip to thestabilizer tip. This measurement must be the samefor both sides. If not, reposition the stabilizer so thatboth measurement from steps 7 and 8 match.4. Place the remaining wing panel into position.It is important to check the alignment of thestabilizer in relationship to the wing. Not doingso may cause your airplane to require excessiveamounts of trim to correct for poor alignment,resulting in poor flight performance.7. Use a ruler to make sure the stabilizer is centeredin the fuselage.5. Separate the elevator and stabilizer. The hingeshave been pre-glued into the elevator, so checkthem, but do not attempt to remove them.9. The final step is to check that the stabilizer isaligned with the wing. Stand back 8–10 feet (2–3meters) and view the aircraft from the rear. If thealignment is off, lightly sand the stabilizer saddle tocorrect the alignment.E-flite <strong>Cessna</strong> <strong>150</strong> <strong>Aerobat</strong> <strong>250</strong> <strong>ARF</strong> Assembly Manual17