- Page 1 and 2:
USER MANUALTABLE OF CONTENTSWelcome
- Page 3 and 4:
Print to Film .....................
- Page 5 and 6:
Onyx-RAD is a registered trademark
- Page 7 and 8:
1Welcome to Onyx-RADThis chapter of
- Page 9 and 10:
Easy To UseOnyx-RAD is designed to
- Page 11 and 12:
The Study ListThe basic functionali
- Page 13 and 14:
The Image ViewerAfter locating your
- Page 15 and 16:
Other Features / Options ofProfessi
- Page 17 and 18:
Onyx-RAD is a registered trademark
- Page 19 and 20:
2Brief Walkthrough ofProfessional W
- Page 21 and 22:
Log On(This dialog may not appear i
- Page 23 and 24:
In our example session, we are inte
- Page 25 and 26:
The buttons above allow you to use
- Page 27 and 28:
Onyx-RAD is a registered trademark
- Page 29 and 30:
3The Study List ScreenThis chapter
- Page 31 and 32:
of images, description, originating
- Page 33 and 34:
Rearrange Study List ColumnsThe col
- Page 35 and 36:
The Study List Filter WindowSorting
- Page 37 and 38:
The Personal buttonThe “Personal
- Page 39 and 40:
4The Image Viewer ScreenThis chapte
- Page 41 and 42:
Onyx-RAD is a registered trademark
- Page 43 and 44:
The Series Window☼ As part of the
- Page 45 and 46:
The Image windowThe largest area in
- Page 47 and 48:
Config Bar : Study tabThis sub-wind
- Page 49 and 50:
Width & Centerthe Width & Center to
- Page 51 and 52:
Zoomthe Zoom toolbar buttonThis too
- Page 53 and 54:
Magnifythe Magnify toolbar button
- Page 55 and 56:
True Size (1:1)the True Size toolba
- Page 57 and 58:
Unsharp MaskingUnsharp Masking is a
- Page 59 and 60:
Gamma Correctionthe Gamma Correctio
- Page 61 and 62:
Annotations : IntroductionAnnotatio
- Page 63 and 64:
Annotation : Ellipsethe Ellipse too
- Page 65 and 66:
Annotation : Arrowthe Arrow tool bu
- Page 67 and 68:
Annotation : Textthe Text tool butt
- Page 69 and 70:
Annotation : Anglethe Angle tool bu
- Page 71 and 72:
Annotations : Editing and DeletingP
- Page 73 and 74:
Deleting AnnotationsTo delete an an
- Page 75 and 76:
5Advanced Viewing OperationsThis ch
- Page 77 and 78:
Reading Key ImagesImages that have
- Page 79 and 80: HistogramSometimes it is helpful to
- Page 81 and 82: Cut-Lines☼ You may need toclick o
- Page 83 and 84: Stacks cut stacksWhen this option i
- Page 85 and 86: Compare Mode (Compare Series inOne
- Page 87 and 88: Onyx-RAD is a registered trademark
- Page 89 and 90: 6Printing (Paper and Film)This chap
- Page 91 and 92: The Image BucketThe Image Bucket is
- Page 93 and 94: Print to PaperAt the bottom of the
- Page 95 and 96: Print to FilmAfter selecting the im
- Page 97 and 98: Clear the Image BucketAfter printin
- Page 99 and 100: Configuring DICOM PrintersDICOM Pri
- Page 101 and 102: The second configuration dialog is
- Page 103 and 104: Presentation LUT: Some printers sup
- Page 105 and 106: Removing DICOM PrintersShould you w
- Page 107 and 108: 7CD BurningThis chapter explores th
- Page 109 and 110: Creating a Patient Disc(Note that t
- Page 111 and 112: Finally, the CD Writing Progress ba
- Page 113 and 114: CDR/CDRW Drive : Choose your burner
- Page 115 and 116: here:There are four progress bars a
- Page 117 and 118: Onyx-RAD is a registered trademark
- Page 119 and 120: 8Send and Receive ExamsThis chapter
- Page 121 and 122: Sending Exams: .ONX or DICOMOnyx-RA
- Page 123 and 124: Monitor the Progress of PushedExams
- Page 125 and 126: Requirements to Receive ExamsReceiv
- Page 127 and 128: The Configuration Manager should re
- Page 129: Set up Contact EntriesYou must set
- Page 133 and 134: exit from this window and set up an
- Page 135 and 136: 9Image AcquisitionOnyx-RAD Professi
- Page 137 and 138: Acquiring Orex Images : Step by Ste
- Page 139 and 140: Step 5 : New Patient / New Study /
- Page 141 and 142: Step 6 : Enter Patient / Study / Se
- Page 143 and 144: Step 7 : Orex Scanner InterfacePati
- Page 145 and 146: Step 11 : “QC” the image(s)When
- Page 147 and 148: Step 4 : “Study Listing” screen
- Page 149 and 150: New Image. If you are adding multip
- Page 151 and 152: the field and start typing. Althoug
- Page 153 and 154: Using Modality WorklistModality Wor
- Page 155 and 156: 10Every ToolbarOnyx-RAD contains ma
- Page 157 and 158: Standard toolbarThese buttons are s
- Page 159 and 160: Cut-line Operations toolbar☼ For
- Page 161 and 162: Image Left-button Operations toolba
- Page 163 and 164: share single-frame properties with
- Page 165 and 166: Group Control toolbarThis toolbar c
- Page 167 and 168: AInstalling Onyx-RADOnyx-RAD instal
- Page 169 and 170: The next dialog is titled “Choose
- Page 171 and 172: The next dialog is titled “Select
- Page 173 and 174: The next dialog is titled “Select
- Page 175 and 176: The “Installing” dialog keeps y
- Page 177 and 178: Near the end of file copying, the I
- Page 179 and 180: A “User Details” dialog appears
- Page 181 and 182:
Onyx-RAD is a registered trademark
- Page 183 and 184:
BConfiguration ManagerOnyx-RAD Conf
- Page 185 and 186:
AE Node EditorThis tool is for addi
- Page 187 and 188:
To delete an AE Node:Click the node
- Page 189 and 190:
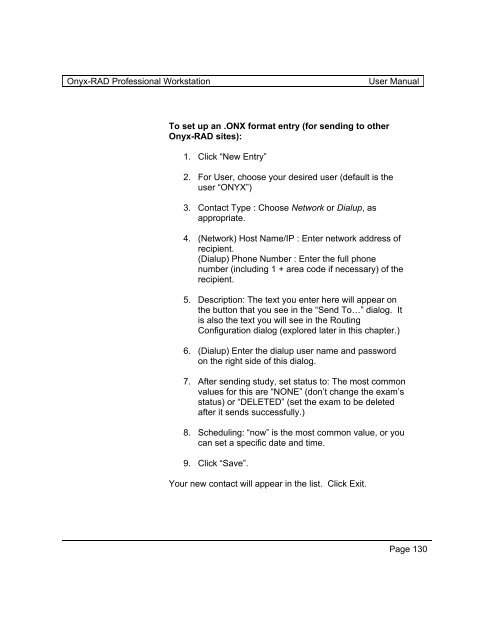
To set up an .ONX format entry (for
- Page 191 and 192:
To edit an existing Contact Entry:C
- Page 193 and 194:
To add a route:Click the node to ad
- Page 195 and 196:
General Server ConfigUse the Genera
- Page 197 and 198:
Image Server ConfigUse this tool to
- Page 199 and 200:
Onyx-RAD is a registered trademark
- Page 201 and 202:
CWindows 2000 PrimerOnyx-RAD softwa
- Page 203 and 204:
mouse button is intended. If the ri
- Page 205 and 206:
Menu bars (“Menus”)Menu bars ar
- Page 207:
ScrollbarsUse of a scrollbar is qui