EAGLE CORR PE⢠* - JM Eagle
EAGLE CORR PE⢠* - JM Eagle
EAGLE CORR PE⢠* - JM Eagle
- No tags were found...

You also want an ePaper? Increase the reach of your titles
YUMPU automatically turns print PDFs into web optimized ePapers that Google loves.
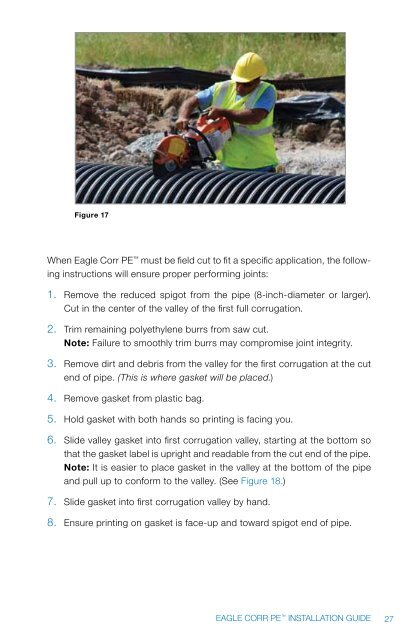
Figure 17When <strong>Eagle</strong> Corr PE must be field cut to fit a specific application, the followinginstructions will ensure proper performing joints:1. Remove the reduced spigot from the pipe (8-inch-diameter or larger).Cut in the center of the valley of the first full corrugation.2. Trim remaining polyethylene burrs from saw cut.Note: Failure to smoothly trim burrs may compromise joint integrity.3. Remove dirt and debris from the valley for the first corrugation at the cutend of pipe. (This is where gasket will be placed.)4. Remove gasket from plastic bag.5. Hold gasket with both hands so printing is facing you.6. Slide valley gasket into first corrugation valley, starting at the bottom sothat the gasket label is upright and readable from the cut end of the pipe.Note: It is easier to place gasket in the valley at the bottom of the pipeand pull up to conform to the valley. (See Figure 18.)7. Slide gasket into first corrugation valley by hand.8. Ensure printing on gasket is face-up and toward spigot end of pipe.<strong>EAGLE</strong> <strong>CORR</strong> PE INSTALLATION GUIDE27