Customer Setup of the NCR PC-8. - THE CORE MEMORY
Customer Setup of the NCR PC-8. - THE CORE MEMORY
Customer Setup of the NCR PC-8. - THE CORE MEMORY
- No tags were found...
Create successful ePaper yourself
Turn your PDF publications into a flip-book with our unique Google optimized e-Paper software.
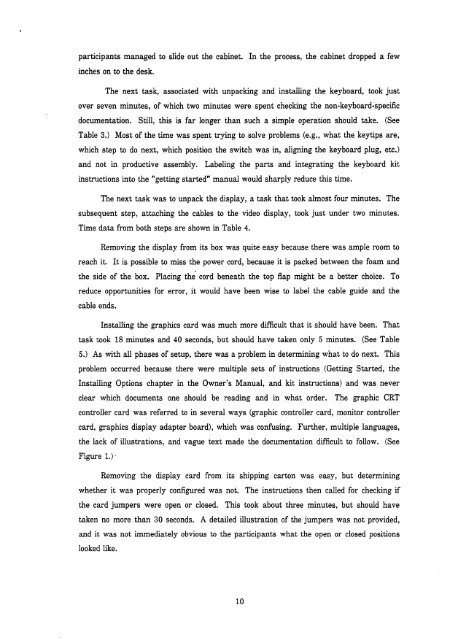
participants managed to slide out <strong>the</strong> cabinet. In <strong>the</strong> process, <strong>the</strong> cabinet dropped a fewinches on to <strong>the</strong> desk,,The next tasik, associated with unpacking and installing <strong>the</strong> keyboard, took justover seven minutes, <strong>of</strong> which two minutes were spent checking <strong>the</strong> non-keyboard-specificdocu~nentation. Still,, this is far longer than such a simple operation should take. (SeeTable 3.) Most <strong>of</strong> <strong>the</strong> time was spent trying to solve problems (e.g., what <strong>the</strong> keytips are,which step to do next, which position <strong>the</strong> switch was in, aligning <strong>the</strong> keyboard plug, etc.)and not in productive assembly. Labeling <strong>the</strong> parts and integrating <strong>the</strong> keyboard kitinstructions into <strong>the</strong> "'getting started" manual would sharply reduce this time.The next task was to unpack <strong>the</strong> display, a task that took almost four minutes. Thesubsequent step, attaching <strong>the</strong> cables to <strong>the</strong> video display, took just under two minutes.Time data from both steps are shown in Table 4.Removing <strong>the</strong> clisplay from its box was quite easy because <strong>the</strong>re was ample room toreach it. It is possible to miss <strong>the</strong> power cord, because it is packed between <strong>the</strong> foam and<strong>the</strong> side <strong>of</strong> <strong>the</strong> box. Placing <strong>the</strong> cord beneath <strong>the</strong> top flap might be a better choice. Toreduce opportunities for error, it would have been wise to label <strong>the</strong> cable guide and <strong>the</strong>cable ends.Installing <strong>the</strong> graphics card was much more difficult that it should have been. Thattask cook 18 minutes and 40 seconds, but should have taken only 5 minutes. (See Table5.) As with all phases <strong>of</strong> setup, <strong>the</strong>re was a problem in determining what to do next. Thisprob1t.m occurred because <strong>the</strong>re were multiple sets <strong>of</strong> instructions (Getting Started, <strong>the</strong>Insta1.ling Options chapter in <strong>the</strong> Owner's Manual, and kit instructions) and was neverclear which documents one should be reading and in what order. The graphic CRTcontroller card was referred to in several ways (graphic controller card, monitor controllercard, graphics display adapter board), which was confusing. Fur<strong>the</strong>r, multiple languages,<strong>the</strong> lack <strong>of</strong> illustrations, and vague text made <strong>the</strong> documentation difficult to follow. (SeeFigure 1.).Removing <strong>the</strong> display card from its shipping carton was easy, but determiningwhe<strong>the</strong>r it was properly configured was not. The instructions <strong>the</strong>n called for checking if<strong>the</strong> card jumpers were open or closed. This took about three minutes, but should havetaken no more than 30 seconds. A detailed illustration <strong>of</strong> <strong>the</strong> jumpers was not provided,and it was not immediately obvious to <strong>the</strong> participants what <strong>the</strong> open or closed positionslookecl like.


