autocom-cdp-pro-for-trucks-manual-version-1.5 - Car diagnostic tool
autocom-cdp-pro-for-trucks-manual-version-1.5 - Car diagnostic tool
autocom-cdp-pro-for-trucks-manual-version-1.5 - Car diagnostic tool
You also want an ePaper? Increase the reach of your titles
YUMPU automatically turns print PDFs into web optimized ePapers that Google loves.
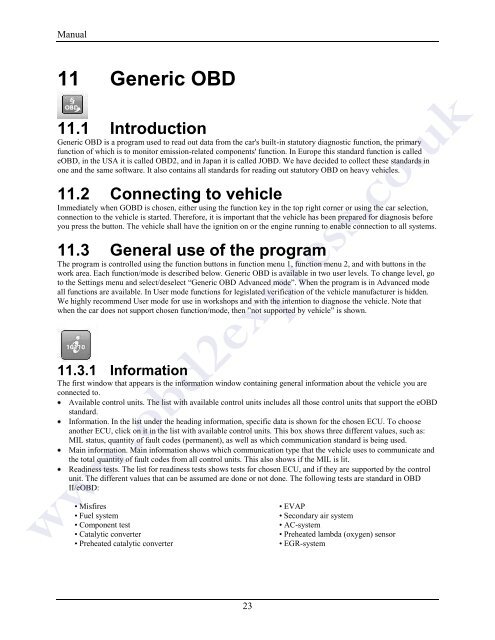
Manual11 Generic OBD11.1 IntroductionGeneric OBD is a <strong>pro</strong>gram used to read out data from the car's built-in statutory <strong>diagnostic</strong> function, the primaryfunction of which is to monitor emission-related components' function. In Europe this standard function is calledeOBD, in the USA it is called OBD2, and in Japan it is called JOBD. We have decided to collect these standards inone and the same software. It also contains all standards <strong>for</strong> reading out statutory OBD on heavy vehicles.11.2 Connecting to vehicleImmediately when GOBD is chosen, either using the function key in the top right corner or using the car selection,connection to the vehicle is started. There<strong>for</strong>e, it is important that the vehicle has been prepared <strong>for</strong> diagnosis be<strong>for</strong>eyou press the button. The vehicle shall have the ignition on or the engine running to enable connection to all systems.11.3 General use of the <strong>pro</strong>gramThe <strong>pro</strong>gram is controlled using the function buttons in function menu 1, function menu 2, and with buttons in thework area. Each function/mode is described below. Generic OBD is available in two user levels. To change level, goto the Settings menu and select/deselect “Generic OBD Advanced mode”. When the <strong>pro</strong>gram is in Advanced modeall functions are available. In User mode functions <strong>for</strong> legislated verification of the vehicle manufacturer is hidden.We highly recommend User mode <strong>for</strong> use in workshops and with the intention to diagnose the vehicle. Note thatwhen the car does not support chosen function/mode, then ”not supported by vehicle” is shown.11.3.1 In<strong>for</strong>mationThe first window that appears is the in<strong>for</strong>mation window containing general in<strong>for</strong>mation about the vehicle you areconnected to.Available control units. The list with available control units includes all those control units that support the eOBDstandard.In<strong>for</strong>mation. In the list under the heading in<strong>for</strong>mation, specific data is shown <strong>for</strong> the chosen ECU. To chooseanother ECU, click on it in the list with available control units. This box shows three different values, such as:MIL status, quantity of fault codes (permanent), as well as which communication standard is being used.Main in<strong>for</strong>mation. Main in<strong>for</strong>mation shows which communication type that the vehicle uses to communicate andthe total quantity of fault codes from all control units. This also shows if the MIL is lit.Readiness tests. The list <strong>for</strong> readiness tests shows tests <strong>for</strong> chosen ECU, and if they are supported by the controlunit. The different values that can be assumed are done or not done. The following tests are standard in OBDII/eOBD:• Misfires• Fuel system• Component test• Catalytic converter• Preheated catalytic converter• EVAP• Secondary air system• AC-system• Preheated lambda (oxygen) sensor• EGR-systemwww.obd2express.co.uk23


