3. Updating the GD860 - Car diagnostic tool
3. Updating the GD860 - Car diagnostic tool
3. Updating the GD860 - Car diagnostic tool

Create successful ePaper yourself
Turn your PDF publications into a flip-book with our unique Google optimized e-Paper software.
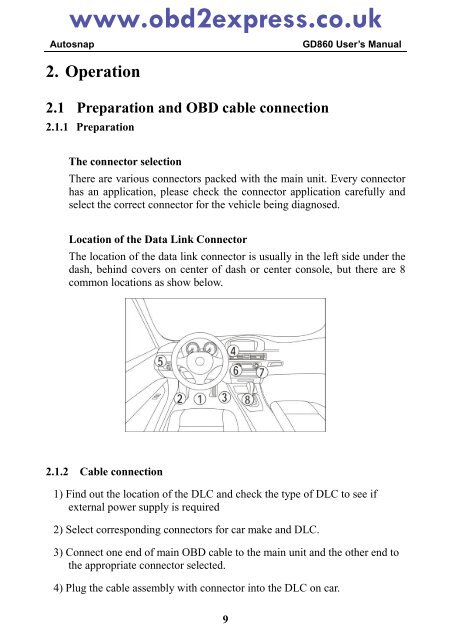
www.obd2express.co.ukAutosnap<strong>GD860</strong> User’s Manual2. Operation2.1 Preparation and OBD cable connection2.1.1 PreparationThe connector selectionThere are various connectors packed with <strong>the</strong> main unit. Every connectorhas an application, please check <strong>the</strong> connector application carefully andselect <strong>the</strong> correct connector for <strong>the</strong> vehicle being diagnosed.Location of <strong>the</strong> Data Link ConnectorThe location of <strong>the</strong> data link connector is usually in <strong>the</strong> left side under <strong>the</strong>dash, behind covers on center of dash or center console, but <strong>the</strong>re are 8common locations as show below.2.1.2 Cable connection1) Find out <strong>the</strong> location of <strong>the</strong> DLC and check <strong>the</strong> type of DLC to see ifexternal power supply is required2) Select corresponding connectors for car make and DLC.3) Connect one end of main OBD cable to <strong>the</strong> main unit and <strong>the</strong> o<strong>the</strong>r end to<strong>the</strong> appropriate connector selected.4) Plug <strong>the</strong> cable assembly with connector into <strong>the</strong> DLC on car.9