BATTLEFIELD DIGITAL FORENSICS
BDF_Battlefield_Digital_Forensics_final
BDF_Battlefield_Digital_Forensics_final

Create successful ePaper yourself
Turn your PDF publications into a flip-book with our unique Google optimized e-Paper software.
4. Remove the drive from the drive bay, as shown in Figure 17 and Figure 18. Note that sometimes it is easier<br />
to first remove the whole drive bay from the case, and then take the drives out of the removed drive bay.<br />
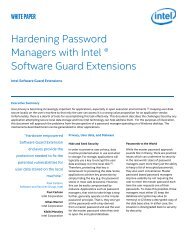
Figure 19. Unplugging data cable and power cable [36].<br />
5. Unplug the data cable and remove the power cable from the hard drive. This is shown in Figure 19.<br />
Document drives which are missing some or all required cables, as they may be part of anti-forensics setup<br />
using for example RAID-0.<br />
b) Remove the SSD disk (step-by-step instructions).<br />
Note: This guide applies to most SSDs. A cordless electric screwdriver is usually needed to open the desktop<br />
(server) case and handle the drive if it is fixed.<br />
1. Make sure the computer is powered off and the power cable is disconnected.<br />
2. Open the desktop computer case.<br />
3. Locate the computer’s drive bay with the SSD drive.<br />
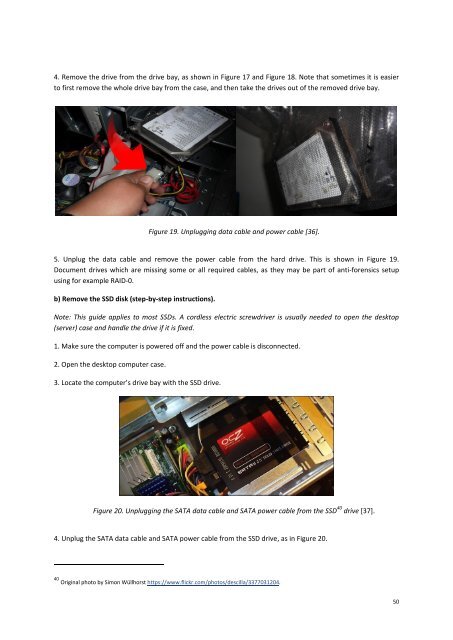
Figure 20. Unplugging the SATA data cable and SATA power cable from the SSD 40 drive [37].<br />
4. Unplug the SATA data cable and SATA power cable from the SSD drive, as in Figure 20.<br />
40 Original photo by Simon Wüllhorst https://www.flickr.com/photos/descilla/3377031204.<br />
50