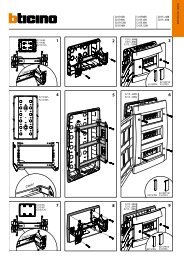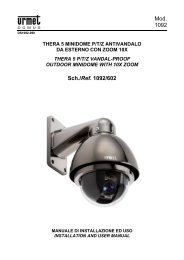
Sch./ Ref./ Réf./ Typ/ Ref. 1092/600 Mod. 1092
Sch./ Ref./ Réf./ Typ/ Ref. 1092/600 Mod. 1092
Sch./ Ref./ Réf./ Typ/ Ref. 1092/600 Mod. 1092
- No tags were found...

Create successful ePaper yourself
Turn your PDF publications into a flip-book with our unique Google optimized e-Paper software.
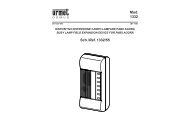
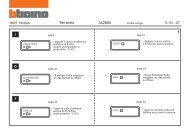
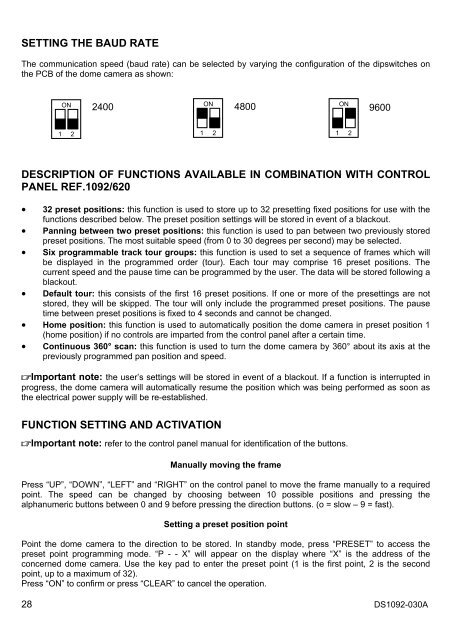
SETTING THE BAUD RATEThe communication speed (baud rate) can be selected by varying the configuration of the dipswitches onthe PCB of the dome camera as shown:ONON2400 4800 9<strong>600</strong>ON1 21 21 2DESCRIPTION OF FUNCTIONS AVAILABLE IN COMBINATION WITH CONTROLPANEL REF.<strong>1092</strong>/620• 32 preset positions: this function is used to store up to 32 presetting fixed positions for use with thefunctions described below. The preset position settings will be stored in event of a blackout.• Panning between two preset positions: this function is used to pan between two previously storedpreset positions. The most suitable speed (from 0 to 30 degrees per second) may be selected.• Six programmable track tour groups: this function is used to set a sequence of frames which willbe displayed in the programmed order (tour). Each tour may comprise 16 preset positions. Thecurrent speed and the pause time can be programmed by the user. The data will be stored following ablackout.• Default tour: this consists of the first 16 preset positions. If one or more of the presettings are notstored, they will be skipped. The tour will only include the programmed preset positions. The pausetime between preset positions is fixed to 4 seconds and cannot be changed.• Home position: this function is used to automatically position the dome camera in preset position 1(home position) if no controls are imparted from the control panel after a certain time.• Continuous 360° scan: this function is used to turn the dome camera by 360° about its axis at thepreviously programmed pan position and speed.Important note: the user’s settings will be stored in event of a blackout. If a function is interrupted inprogress, the dome camera will automatically resume the position which was being performed as soon asthe electrical power supply will be re-established.FUNCTION SETTING AND ACTIVATIONImportant note: refer to the control panel manual for identification of the buttons.Manually moving the framePress “UP”, “DOWN”, “LEFT” and “RIGHT” on the control panel to move the frame manually to a requiredpoint. The speed can be changed by choosing between 10 possible positions and pressing thealphanumeric buttons between 0 and 9 before pressing the direction buttons. (o = slow – 9 = fast).Setting a preset position pointPoint the dome camera to the direction to be stored. In standby mode, press “PRESET” to access thepreset point programming mode. “P - - X” will appear on the display where “X” is the address of theconcerned dome camera. Use the key pad to enter the preset point (1 is the first point, 2 is the secondpoint, up to a maximum of 32).Press “ON” to confirm or press “CLEAR” to cancel the operation.28 DS<strong>1092</strong>-030A