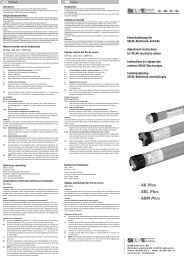
SE Plus-R · SEL Plus-R · SEM Plus-R - ELV
SE Plus-R · SEL Plus-R · SEM Plus-R - ELV
SE Plus-R · SEL Plus-R · SEM Plus-R - ELV
- No tags were found...

Create successful ePaper yourself
Turn your PDF publications into a flip-book with our unique Google optimized e-Paper software.
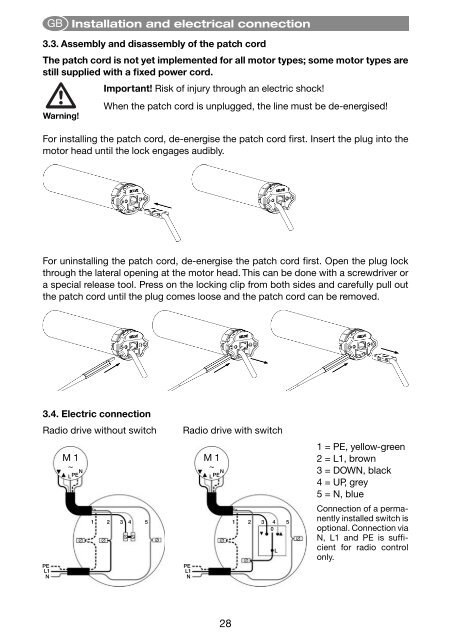
GBInstallation and electrical connection3.3. Assembly and disassembly of the patch cordThe patch cord is not yet implemented for all motor types; some motor types arestill supplied with a fixed power cord.Warning!Important! Risk of injury through an electric shock!When the patch cord is unplugged, the line must be de-energised!For installing the patch cord, de-energise the patch cord first. Insert the plug into themotor head until the lock engages audibly.For uninstalling the patch cord, de-energise the patch cord first. Open the plug lockthrough the lateral opening at the motor head. This can be done with a screwdriver ora special release tool. Press on the locking clip from both sides and carefully pull outthe patch cord until the plug comes loose and the patch cord can be removed.3.4. Electric connectionRadio drive without switchPEL1NM 1M 1~~PE NL12345Radio drive with switchPEL1NLPE N12340L51 = PE, yellow-green2 = L1, brown3 = DOWN, black4 = UP, grey5 = N, blueConnection of a permanentlyinstalled switch isoptional. Connection viaN, L1 and PE is sufficientfor radio controlonly.28