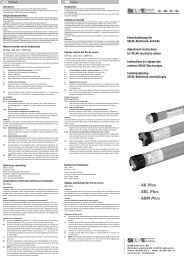
SE Plus-R · SEL Plus-R · SEM Plus-R - ELV
SE Plus-R · SEL Plus-R · SEM Plus-R - ELV
SE Plus-R · SEL Plus-R · SEM Plus-R - ELV
- No tags were found...

You also want an ePaper? Increase the reach of your titles
YUMPU automatically turns print PDFs into web optimized ePapers that Google loves.
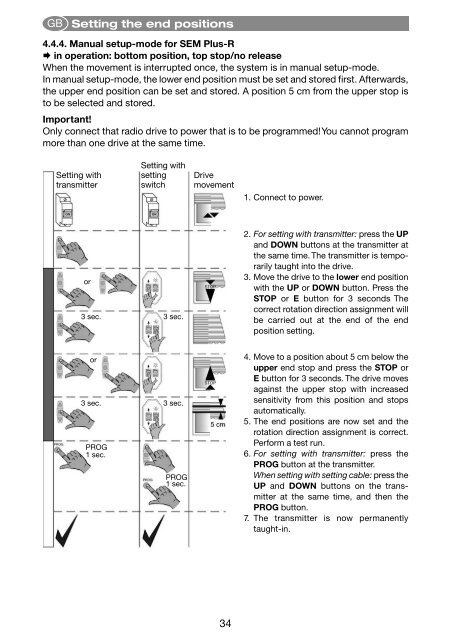
GBSetting the end positions4.4.4. Manual setup-mode for <strong>SE</strong>M <strong>Plus</strong>-R in operation: bottom position, top stop/no releaseWhen the movement is interrupted once, the system is in manual setup-mode.In manual setup-mode, the lower end position must be set and stored first. Afterwards,the upper end position can be set and stored. A position 5 cm from the upper stop isto be selected and stored.Important!Only connect that radio drive to power that is to be programmed! You cannot programmore than one drive at the same time.Setting withtransmitterSetting withsettingswitchDrivemovement1. Connect to power.or3 sec.3 sec.2. For setting with transmitter: press the UPand DOWN buttons at the transmitter atthe same time. The transmitter is temporarilytaught into the drive.3. Move the drive to the lower end positionwith the UP or DOWN button. Press theSTOP or E button for 3 seconds Thecorrect rotation direction assignment willbe carried out at the end of the endpo sition setting.or3 sec.PROG1 sec.3 sec.PROG1 sec.4. Move to a position about 5 cm below theupper end stop and press the STOP orE button for 3 seconds. The drive movesagainst the upper stop with increasedsensitivity from this position and stopsautomatically.5. The end positions are now set and therotation direction assignment is correct.Perform a test run.6. For setting with transmitter: press thePROG button at the transmitter.When setting with setting cable: press theUP and DOWN buttons on the transmitterat the same time, and then thePROG button.7. The transmitter is now permanentlytaught-in.34