VideoMate DVB-T300/T200 PCI Tuner Card Start Up Guide
VideoMate DVB-T300/T200 PCI Tuner Card Start Up Guide
VideoMate DVB-T300/T200 PCI Tuner Card Start Up Guide

Create successful ePaper yourself
Turn your PDF publications into a flip-book with our unique Google optimized e-Paper software.
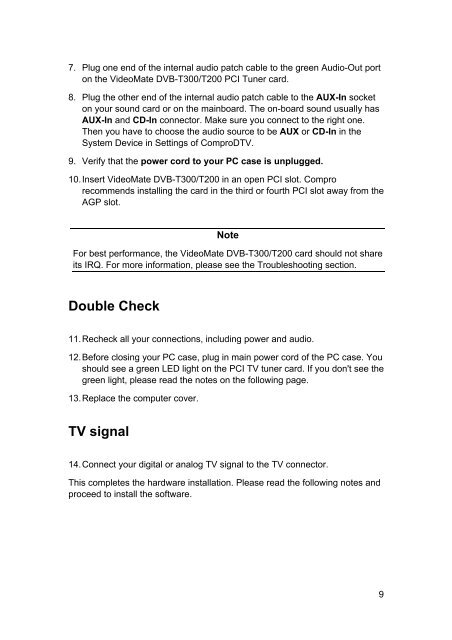
7. Plug one end of the internal audio patch cable to the green Audio-Out port<br />
on the <strong>VideoMate</strong> <strong>DVB</strong>-<strong>T300</strong>/<strong>T200</strong> <strong>PCI</strong> <strong>Tuner</strong> card.<br />
8. Plug the other end of the internal audio patch cable to the AUX-In socket<br />
on your sound card or on the mainboard. The on-board sound usually has<br />
AUX-In and CD-In connector. Make sure you connect to the right one.<br />
Then you have to choose the audio source to be AUX or CD-In in the<br />
System Device in Settings of ComproDTV.<br />
9. Verify that the power cord to your PC case is unplugged.<br />
10. Insert <strong>VideoMate</strong> <strong>DVB</strong>-<strong>T300</strong>/<strong>T200</strong> in an open <strong>PCI</strong> slot. Compro<br />
recommends installing the card in the third or fourth <strong>PCI</strong> slot away from the<br />
AGP slot.<br />
Note<br />
For best performance, the <strong>VideoMate</strong> <strong>DVB</strong>-<strong>T300</strong>/<strong>T200</strong> card should not share<br />
its IRQ. For more information, please see the Troubleshooting section.<br />
Double Check<br />
11. Recheck all your connections, including power and audio.<br />
12. Before closing your PC case, plug in main power cord of the PC case. You<br />
should see a green LED light on the <strong>PCI</strong> TV tuner card. If you don't see the<br />
green light, please read the notes on the following page.<br />
13. Replace the computer cover.<br />
TV signal<br />
14. Connect your digital or analog TV signal to the TV connector.<br />
This completes the hardware installation. Please read the following notes and<br />
proceed to install the software.<br />
9