Vertical mill installation instructions - Haas Automation, Inc.
Vertical mill installation instructions - Haas Automation, Inc.
Vertical mill installation instructions - Haas Automation, Inc.
Create successful ePaper yourself
Turn your PDF publications into a flip-book with our unique Google optimized e-Paper software.
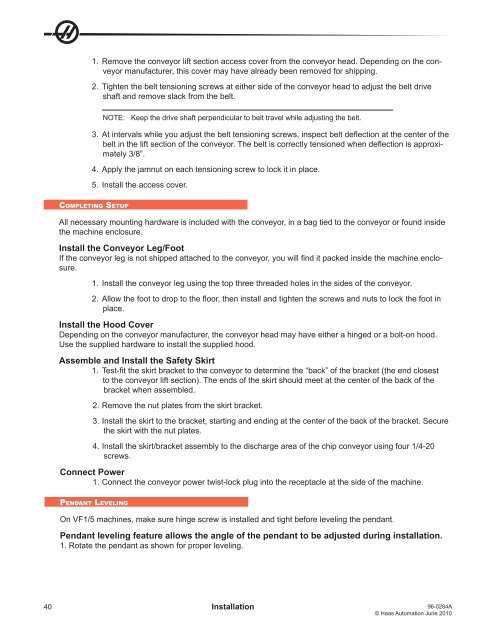
1. Remove the conveyor lift section access cover from the conveyor head. Depending on the conveyor<br />
manufacturer, this cover may have already been removed for shipping.<br />
2. Tighten the belt tensioning screws at either side of the conveyor head to adjust the belt drive<br />
shaft and remove slack from the belt.<br />
NOTE: Keep the drive shaft perpendicular to belt travel while adjusting the belt.<br />
3. At intervals while you adjust the belt tensioning screws, inspect belt deflection at the center of the<br />
belt in the lift section of the conveyor. The belt is correctly tensioned when deflection is approximately<br />
3/8”.<br />
4. Apply the jamnut on each tensioning screw to lock it in place.<br />
5. Install the access cover.<br />
coMpletinG setup<br />
All necessary mounting hardware is included with the conveyor, in a bag tied to the conveyor or found inside<br />
the machine enclosure.<br />
Install the Conveyor Leg/Foot<br />
If the conveyor leg is not shipped attached to the conveyor, you will find it packed inside the machine enclosure.<br />
1. Install the conveyor leg using the top three threaded holes in the sides of the conveyor.<br />
2. Allow the foot to drop to the floor, then install and tighten the screws and nuts to lock the foot in<br />
place.<br />
Install the Hood Cover<br />
Depending on the conveyor manufacturer, the conveyor head may have either a hinged or a bolt-on hood.<br />
Use the supplied hardware to install the supplied hood.<br />
Assemble and Install the Safety Skirt<br />
1. Test-fit the skirt bracket to the conveyor to determine the “back” of the bracket (the end closest<br />
to the conveyor lift section). The ends of the skirt should meet at the center of the back of the<br />
bracket when assembled.<br />
2. Remove the nut plates from the skirt bracket.<br />
3. Install the skirt to the bracket, starting and ending at the center of the back of the bracket. Secure<br />
the skirt with the nut plates.<br />
4. Install the skirt/bracket assembly to the discharge area of the chip conveyor using four 1/4-20<br />
screws.<br />
Connect Power<br />
1. Connect the conveyor power twist-lock plug into the receptacle at the side of the machine.<br />
pendant levelinG<br />
On VF1/5 machines, make sure hinge screw is installed and tight before leveling the pendant.<br />
Pendant leveling feature allows the angle of the pendant to be adjusted during <strong>installation</strong>.<br />
1. Rotate the pendant as shown for proper leveling.<br />
40 Installation 96-0284A<br />
© <strong>Haas</strong> <strong>Automation</strong> June 2010


