Windows PowerShell 3.0 Step by Step - Cdn.oreilly.com - O'Reilly
Windows PowerShell 3.0 Step by Step - Cdn.oreilly.com - O'Reilly
Windows PowerShell 3.0 Step by Step - Cdn.oreilly.com - O'Reilly
You also want an ePaper? Increase the reach of your titles
YUMPU automatically turns print PDFs into web optimized ePapers that Google loves.
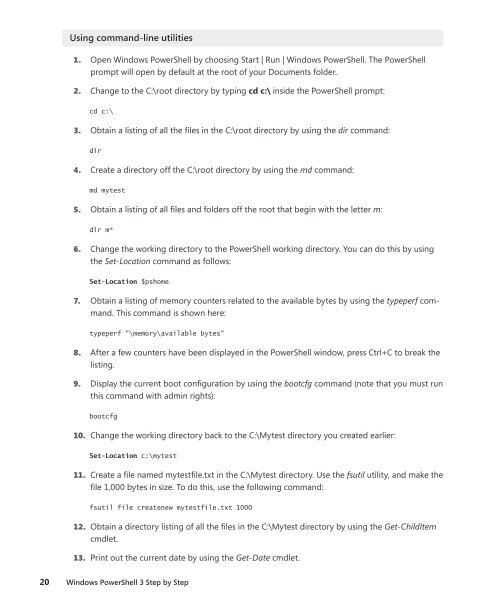
Using <strong>com</strong>mand-line utilities<br />
1. Open <strong>Windows</strong> <strong>PowerShell</strong> <strong>by</strong> choosing Start | Run | <strong>Windows</strong> <strong>PowerShell</strong>. The <strong>PowerShell</strong><br />
prompt will open <strong>by</strong> default at the root of your Documents folder.<br />
2. Change to the C:\root directory <strong>by</strong> typing cd c:\ inside the <strong>PowerShell</strong> prompt:<br />
cd c:\<br />
3. Obtain a listing of all the files in the C:\root directory <strong>by</strong> using the dir <strong>com</strong>mand:<br />
dir<br />
4. Create a directory off the C:\root directory <strong>by</strong> using the md <strong>com</strong>mand:<br />
md mytest<br />
5. Obtain a listing of all files and folders off the root that begin with the letter m:<br />
dir m*<br />
6. Change the working directory to the <strong>PowerShell</strong> working directory. You can do this <strong>by</strong> using<br />
the Set-Location <strong>com</strong>mand as follows:<br />
Set-Location $pshome<br />
7. Obtain a listing of memory counters related to the available <strong>by</strong>tes <strong>by</strong> using the typeperf <strong>com</strong>mand.<br />
This <strong>com</strong>mand is shown here:<br />
typeperf "\memory\available <strong>by</strong>tes"<br />
8. After a few counters have been displayed in the <strong>PowerShell</strong> window, press Ctrl+C to break the<br />
listing.<br />
9. Display the current boot configuration <strong>by</strong> using the bootcfg <strong>com</strong>mand (note that you must run<br />
this <strong>com</strong>mand with admin rights):<br />
bootcfg<br />
10. Change the working directory back to the C:\Mytest directory you created earlier:<br />
Set-Location c:\mytest<br />
11. Create a file named mytestfile.txt in the C:\Mytest directory. Use the fsutil utility, and make the<br />
file 1,000 <strong>by</strong>tes in size. To do this, use the following <strong>com</strong>mand:<br />
fsutil file createnew mytestfile.txt 1000<br />
12. Obtain a directory listing of all the files in the C:\Mytest directory <strong>by</strong> using the Get-ChildItem<br />
cmdlet.<br />
13. Print out the current date <strong>by</strong> using the Get-Date cmdlet.<br />
20 <strong>Windows</strong> <strong>PowerShell</strong> 3 <strong>Step</strong> <strong>by</strong> <strong>Step</strong>


