Insurance Discount May Pay for Your BPPP Training - American ...
Insurance Discount May Pay for Your BPPP Training - American ...
Insurance Discount May Pay for Your BPPP Training - American ...

Create successful ePaper yourself
Turn your PDF publications into a flip-book with our unique Google optimized e-Paper software.
Q:<br />
www.bonanza.org<br />
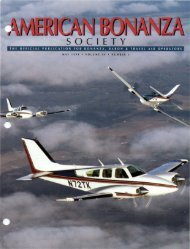
Touch-up painting<br />
Brock Benjamin<br />
El Paso, Texas<br />
I have a lot of dings and chipped paint on the<br />
leading edges, cowling, and spinner of my newly<br />
purchased M35. How do I do touch up painting? It’s not<br />
as much aesthetics as I don’t like the loose paint and<br />
bare aluminum. What’s the proper procedure?<br />
A:<br />
There are many correct ways to address chipping<br />
paint on the leading surfaces of our airplanes. Here<br />
are a few ordered from easiest to most skilled, and least<br />
to most expensive.<br />
1. Wash the surface with a strong dilution of liquid dish<br />
detergent, rinse clean, and allow to dry.<br />
2. Using a Q-tip or small detailing paint brush, apply a<br />
dab of yellow chromate primer. Yellow is easier to<br />
cover than green, but you can use green if it is all you<br />
have available. You can usually find yellow and green<br />
chromate primers at your local boat supply store.<br />
3. With a clean brush or new Q-tip, apply your matching<br />
top coat and allow to dry.<br />
or<br />
1. Wash the surface with a strong dilution of liquid dish<br />
detergent, rinse clean, and allow to dry.<br />
2. Lightly sand each spot to knock down the sharp paint<br />
chipped edge and blend the top coat into the primer<br />
layer. Do not sand into the metal.<br />
3. Wipe the surface with 90% isopropyl alcohol and allow<br />
to dry.<br />
4. Using a small detailers airbrush, apply a coat of epoxy<br />
primer to each spot.<br />
5. Using a small detailers airbrush, apply your matching<br />
top coat and allow to dry.<br />
or<br />
1. Sand a large area back to the closest skin seam with<br />
600 grit sandpaper. Do not sand into the metal.<br />
2. Wipe the surface with 90% isopropyl alcohol and allow<br />
to dry.<br />
3. Mask the airplane, prime, and paint the complete area.<br />
—CB<br />
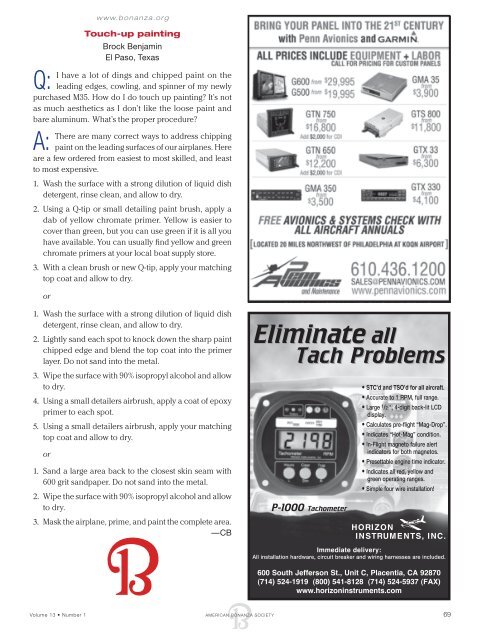
Eliminate all<br />
Tach Problems<br />
P-1000 Tachometer<br />
• STC’d and TSO’d <strong>for</strong> all aircraft.<br />
• Accurate to 1 RPM, full range.<br />
• Large 1 /2 ", 4-digit back-lit LCD<br />
display.<br />
• Calculates pre-flight “Mag-Drop”.<br />
• Indicates “Hot-Mag” condition.<br />
• In-Flight magneto failure alert<br />
indicators <strong>for</strong> both magnetos.<br />
• Presettable engine time indicator.<br />
• Indicates all red, yellow and<br />
green operating ranges.<br />
• Simple four wire installation!<br />
Immediate delivery:<br />
All installation hardware, circuit breaker and wiring harnesses are included.<br />
600 South Jefferson St., Unit C, Placentia, CA 92870<br />
(714) 524-1919 (800) 541-8128 (714) 524-5937 (FAX)<br />
www.horizoninstruments.com<br />
Volume 13 • Number 1 AMERICAN BONANZA SOCIETY 69