H.264 Network DVR User Manual - Supercircuits Inc.
H.264 Network DVR User Manual - Supercircuits Inc.
H.264 Network DVR User Manual - Supercircuits Inc.
Create successful ePaper yourself
Turn your PDF publications into a flip-book with our unique Google optimized e-Paper software.
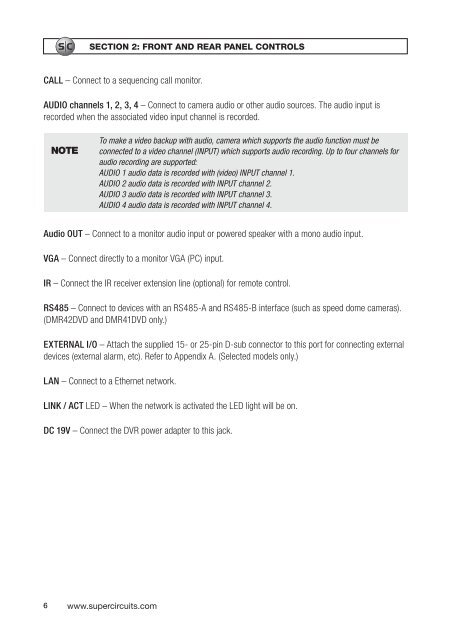
SECTION 2: FRONT AND REAR PANEL CONTROLS<br />
CALL – Connect to a sequencing call monitor.<br />
AUDIO channels 1, 2, 3, 4 – Connect to camera audio or other audio sources. The audio input is<br />
recorded when the associated video input channel is recorded.<br />
NOTE<br />
To make a video backup with audio, camera which supports the audio function must be<br />
connected to a video channel (INPUT) which supports audio recording. Up to four channels for<br />
audio recording are supported:<br />
AUDIO 1 audio data is recorded with (video) INPUT channel 1.<br />
AUDIO 2 audio data is recorded with INPUT channel 2.<br />
AUDIO 3 audio data is recorded with INPUT channel 3.<br />
AUDIO 4 audio data is recorded with INPUT channel 4.<br />
Audio OUT – Connect to a monitor audio input or powered speaker with a mono audio input.<br />
VGA – Connect directly to a monitor VGA (PC) input.<br />
IR – Connect the IR receiver extension line (optional) for remote control.<br />
RS485 – Connect to devices with an RS485-A and RS485-B interface (such as speed dome cameras).<br />
(DMR42DVD and DMR41DVD only.)<br />
EXTERNAL I/O – Attach the supplied 15- or 25-pin D-sub connector to this port for connecting external<br />
devices (external alarm, etc). Refer to Appendix A. (Selected models only.)<br />
LAN – Connect to a Ethernet network.<br />
LINK / ACT LED – When the network is activated the LED light will be on.<br />
DC 19V – Connect the <strong>DVR</strong> power adapter to this jack.<br />
6 www.supercircuits.com


