Non Invasive Blood Pressure - Living on the EDge
Non Invasive Blood Pressure - Living on the EDge
Non Invasive Blood Pressure - Living on the EDge

Create successful ePaper yourself
Turn your PDF publications into a flip-book with our unique Google optimized e-Paper software.
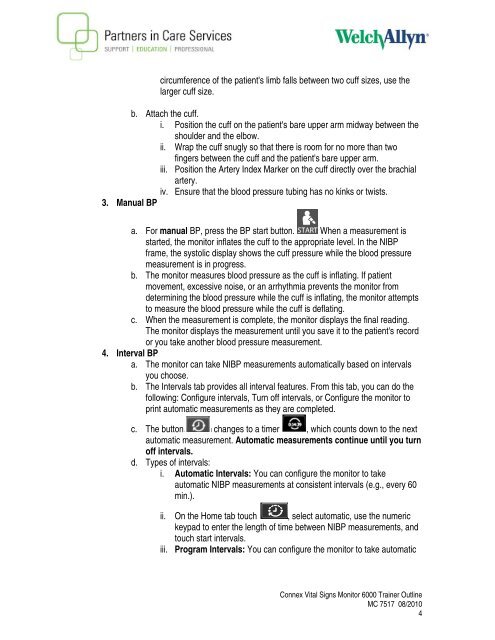
circumference of <strong>the</strong> patient's limb falls between two cuff sizes, use <strong>the</strong><br />
larger cuff size.<br />
b. Attach <strong>the</strong> cuff.<br />
i. Positi<strong>on</strong> <strong>the</strong> cuff <strong>on</strong> <strong>the</strong> patient's bare upper arm midway between <strong>the</strong><br />
shoulder and <strong>the</strong> elbow.<br />
ii. Wrap <strong>the</strong> cuff snugly so that <strong>the</strong>re is room for no more than two<br />
fingers between <strong>the</strong> cuff and <strong>the</strong> patient's bare upper arm.<br />
iii. Positi<strong>on</strong> <strong>the</strong> Artery Index Marker <strong>on</strong> <strong>the</strong> cuff directly over <strong>the</strong> brachial<br />
artery.<br />
iv. Ensure that <strong>the</strong> blood pressure tubing has no kinks or twists.<br />
3. Manual BP<br />
a. For manual BP, press <strong>the</strong> BP start butt<strong>on</strong>. When a measurement is<br />
started, <strong>the</strong> m<strong>on</strong>itor inflates <strong>the</strong> cuff to <strong>the</strong> appropriate level. In <strong>the</strong> NIBP<br />
frame, <strong>the</strong> systolic display shows <strong>the</strong> cuff pressure while <strong>the</strong> blood pressure<br />
measurement is in progress.<br />
b. The m<strong>on</strong>itor measures blood pressure as <strong>the</strong> cuff is inflating. If patient<br />
movement, excessive noise, or an arrhythmia prevents <strong>the</strong> m<strong>on</strong>itor from<br />
determining <strong>the</strong> blood pressure while <strong>the</strong> cuff is inflating, <strong>the</strong> m<strong>on</strong>itor attempts<br />
to measure <strong>the</strong> blood pressure while <strong>the</strong> cuff is deflating.<br />
c. When <strong>the</strong> measurement is complete, <strong>the</strong> m<strong>on</strong>itor displays <strong>the</strong> final reading.<br />
The m<strong>on</strong>itor displays <strong>the</strong> measurement until you save it to <strong>the</strong> patient's record<br />
or you take ano<strong>the</strong>r blood pressure measurement.<br />
4. Interval BP<br />
a. The m<strong>on</strong>itor can take NIBP measurements automatically based <strong>on</strong> intervals<br />
you choose.<br />
b. The Intervals tab provides all interval features. From this tab, you can do <strong>the</strong><br />
following: C<strong>on</strong>figure intervals, Turn off intervals, or C<strong>on</strong>figure <strong>the</strong> m<strong>on</strong>itor to<br />
print automatic measurements as <strong>the</strong>y are completed.<br />
c. The butt<strong>on</strong> changes to a timer , which counts down to <strong>the</strong> next<br />
automatic measurement. Automatic measurements c<strong>on</strong>tinue until you turn<br />
off intervals.<br />
d. Types of intervals:<br />
i. Automatic Intervals: You can c<strong>on</strong>figure <strong>the</strong> m<strong>on</strong>itor to take<br />
automatic NIBP measurements at c<strong>on</strong>sistent intervals (e.g., every 60<br />
min.).<br />
ii. On <strong>the</strong> Home tab touch , select automatic, use <strong>the</strong> numeric<br />
keypad to enter <strong>the</strong> length of time between NIBP measurements, and<br />
touch start intervals.<br />
iii. Program Intervals: You can c<strong>on</strong>figure <strong>the</strong> m<strong>on</strong>itor to take automatic<br />
C<strong>on</strong>nex Vital Signs M<strong>on</strong>itor 6000 Trainer Outline<br />
MC 7517 08/2010<br />
4