Non Invasive Blood Pressure - Living on the EDge
Non Invasive Blood Pressure - Living on the EDge
Non Invasive Blood Pressure - Living on the EDge
You also want an ePaper? Increase the reach of your titles
YUMPU automatically turns print PDFs into web optimized ePapers that Google loves.
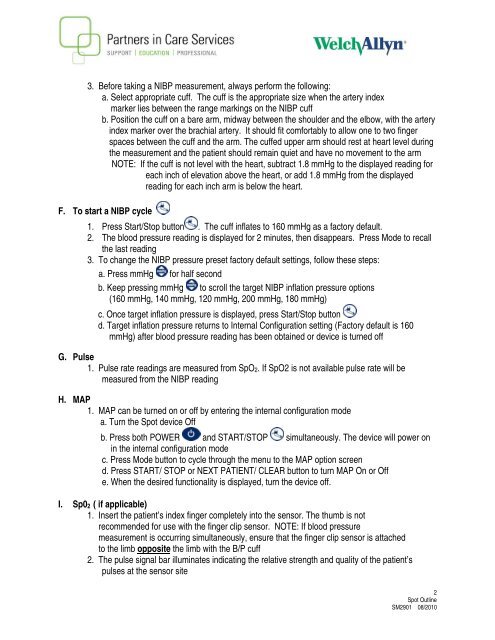
3. Before taking a NIBP measurement, always perform <strong>the</strong> following:<br />
a. Select appropriate cuff. The cuff is <strong>the</strong> appropriate size when <strong>the</strong> artery index<br />
marker lies between <strong>the</strong> range markings <strong>on</strong> <strong>the</strong> NIBP cuff<br />
b. Positi<strong>on</strong> <strong>the</strong> cuff <strong>on</strong> a bare arm, midway between <strong>the</strong> shoulder and <strong>the</strong> elbow, with <strong>the</strong> artery<br />
index marker over <strong>the</strong> brachial artery. It should fit comfortably to allow <strong>on</strong>e to two finger<br />
spaces between <strong>the</strong> cuff and <strong>the</strong> arm. The cuffed upper arm should rest at heart level during<br />
<strong>the</strong> measurement and <strong>the</strong> patient should remain quiet and have no movement to <strong>the</strong> arm<br />
NOTE: If <strong>the</strong> cuff is not level with <strong>the</strong> heart, subtract 1.8 mmHg to <strong>the</strong> displayed reading for<br />
each inch of elevati<strong>on</strong> above <strong>the</strong> heart, or add 1.8 mmHg from <strong>the</strong> displayed<br />
reading for each inch arm is below <strong>the</strong> heart.<br />
F. To start a NIBP cycle<br />
1. Press Start/Stop butt<strong>on</strong> . The cuff inflates to 160 mmHg as a factory default.<br />
2. The blood pressure reading is displayed for 2 minutes, <strong>the</strong>n disappears. Press Mode to recall<br />
<strong>the</strong> last reading<br />
3. To change <strong>the</strong> NIBP pressure preset factory default settings, follow <strong>the</strong>se steps:<br />
a. Press mmHg for half sec<strong>on</strong>d<br />
b. Keep pressing mmHg to scroll <strong>the</strong> target NIBP inflati<strong>on</strong> pressure opti<strong>on</strong>s<br />
(160 mmHg, 140 mmHg, 120 mmHg, 200 mmHg, 180 mmHg)<br />
c. Once target inflati<strong>on</strong> pressure is displayed, press Start/Stop butt<strong>on</strong><br />
d. Target inflati<strong>on</strong> pressure returns to Internal C<strong>on</strong>figurati<strong>on</strong> setting (Factory default is 160<br />
mmHg) after blood pressure reading has been obtained or device is turned off<br />
G. Pulse<br />
1. Pulse rate readings are measured from SpO 2 . If SpO2 is not available pulse rate will be<br />
measured from <strong>the</strong> NIBP reading<br />
H. MAP<br />
1. MAP can be turned <strong>on</strong> or off by entering <strong>the</strong> internal c<strong>on</strong>figurati<strong>on</strong> mode<br />
a. Turn <strong>the</strong> Spot device Off<br />
b. Press both POWER and START/STOP simultaneously. The device will power <strong>on</strong><br />
in <strong>the</strong> internal c<strong>on</strong>figurati<strong>on</strong> mode<br />
c. Press Mode butt<strong>on</strong> to cycle through <strong>the</strong> menu to <strong>the</strong> MAP opti<strong>on</strong> screen<br />
d. Press START/ STOP or NEXT PATIENT/ CLEAR butt<strong>on</strong> to turn MAP On or Off<br />
e. When <strong>the</strong> desired functi<strong>on</strong>ality is displayed, turn <strong>the</strong> device off.<br />
I. Sp0 2 ( if applicable)<br />
1. Insert <strong>the</strong> patient’s index finger completely into <strong>the</strong> sensor. The thumb is not<br />
recommended for use with <strong>the</strong> finger clip sensor. NOTE: If blood pressure<br />
measurement is occurring simultaneously, ensure that <strong>the</strong> finger clip sensor is attached<br />
to <strong>the</strong> limb opposite <strong>the</strong> limb with <strong>the</strong> B/P cuff<br />
2. The pulse signal bar illuminates indicating <strong>the</strong> relative strength and quality of <strong>the</strong> patient’s<br />
pulses at <strong>the</strong> sensor site<br />
2<br />
Spot Outline<br />
SM2901 08/2010


