sharing creativity & caring for your business ... - Stampin' Up!
sharing creativity & caring for your business ... - Stampin' Up!
sharing creativity & caring for your business ... - Stampin' Up!

Create successful ePaper yourself
Turn your PDF publications into a flip-book with our unique Google optimized e-Paper software.
technique<br />
Creative<br />
Science is a very hands-on subject. You<br />
may remember dissecting frogs in high school<br />
or creating <strong>your</strong> own volcano in elementary<br />
school. Trying new techniques can be a lot like<br />
science. You may see how a technique works<br />
when someone shows you, but until you actually<br />
try it out <strong>your</strong>self, you might not fully grasp the<br />
concept. Quilling is one of those techniques you’ll<br />
want to test <strong>for</strong> <strong>your</strong>self—but mostly because it’s<br />
just cool.<br />
Some say quilling began in China in 105 AD;<br />
others say it was established in ancient Egypt.<br />
But no matter when or where it started, quilling<br />
has been around <strong>for</strong> a long time, and it is sure<br />
to stay <strong>for</strong> a long time. Over the many years,<br />
the popularity of the technique has waxed and<br />
waned, but the beauty and brilliance of it has<br />
never changed. It is, and always has been an aweinspiring<br />
technique.<br />
Equation <strong>for</strong> Success<br />
If you’ve never seen quilling be<strong>for</strong>e, you’ll love<br />
it. Although it looks complicated, anyone can do<br />
it with a little practice. Quilling involves curling,<br />
shaping, and adhering paper to create intricate,<br />
three-dimensional designs. You’ll need a Paper-<br />
Piercing Tool, Designer Series Paper, a Bone<br />
Folder, Multipurpose Liquid Glue, and a piece of<br />
card stock to adhere the strips of paper to.<br />
Choose a Designer Series Paper pattern and cut it<br />
into 1/8" wide strips. Slightly curl the strips with<br />
a Bone Folder to soften the paper. Wrap the end<br />
of the paper strip around the Paper-Piercing Tool<br />
and begin twisting. Curl the strip of paper into<br />
the desired shape, and loosen if necessary. When<br />
you have created the shape you want, dab a little<br />
Multipurpose Liquid Glue on the edges of the<br />
curled paper and adhere it to a piece of card stock.<br />
Testing the Theory<br />
You can quill pretty much anything you put <strong>your</strong><br />
mind to. Start out with something simple like our<br />
I Love You card. Fold <strong>your</strong> strip of paper in half<br />
and curl each end in to create the heart. Adhere<br />
the quilled shape to a punched heart to rein<strong>for</strong>ce<br />
the shape. This card is so simple, it won’t take<br />
long to create, but it will tell <strong>your</strong> special someone<br />
how much you love them.<br />
When you’re ready to try something a little more<br />
complex, re-create our Birthday box. Adhere<br />
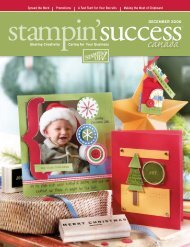
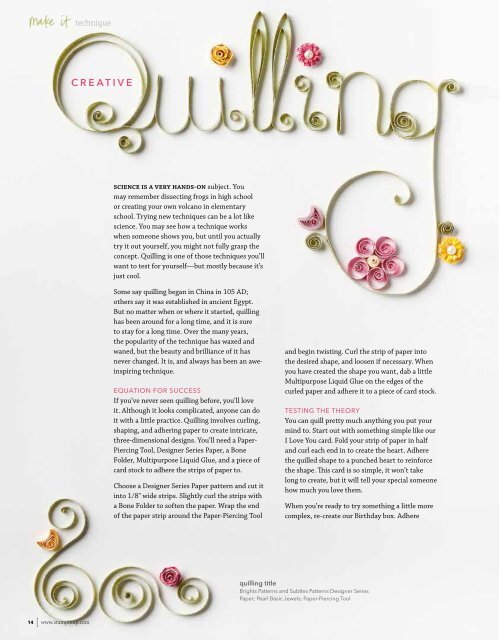
quilling title<br />
Brights Patterns and Subtles Patterns Designer Series<br />
Paper; Pearl Basic Jewels; Paper-Piercing Tool<br />
14 www.stampinup.com